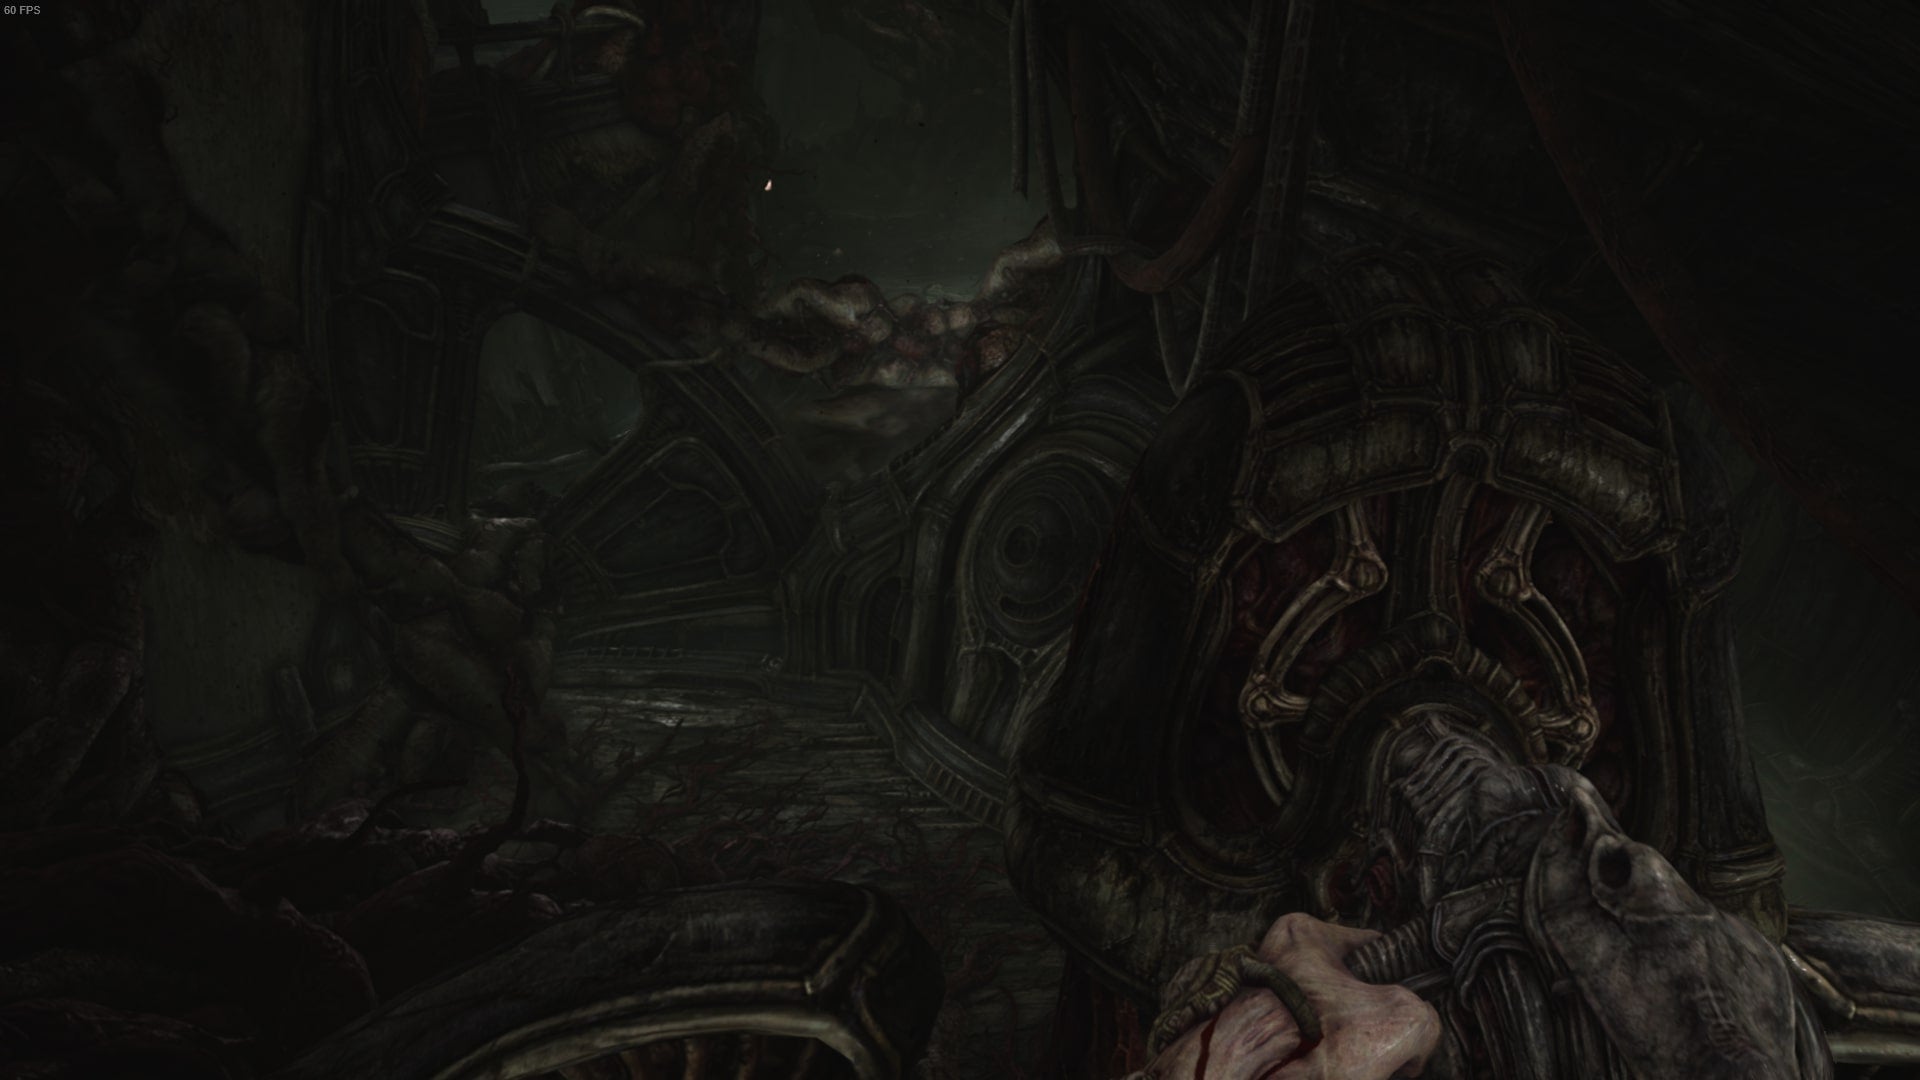
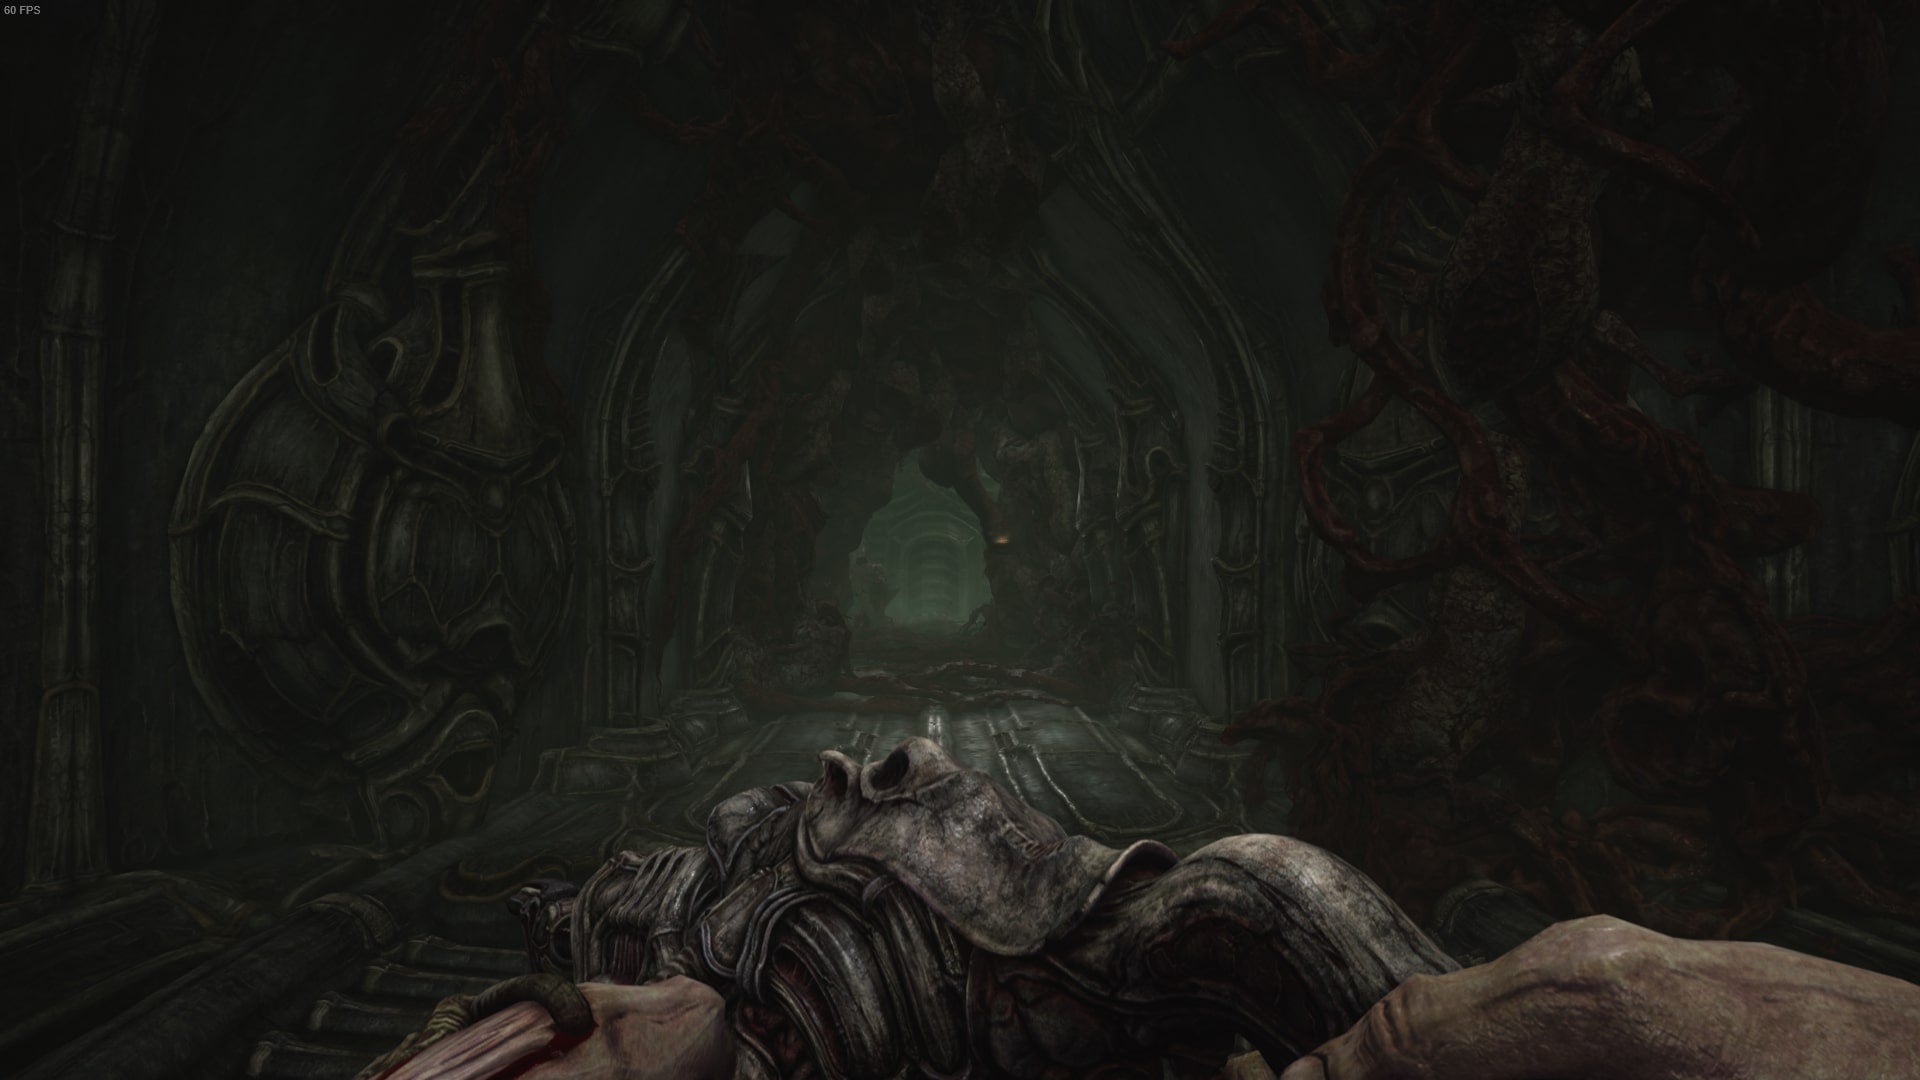
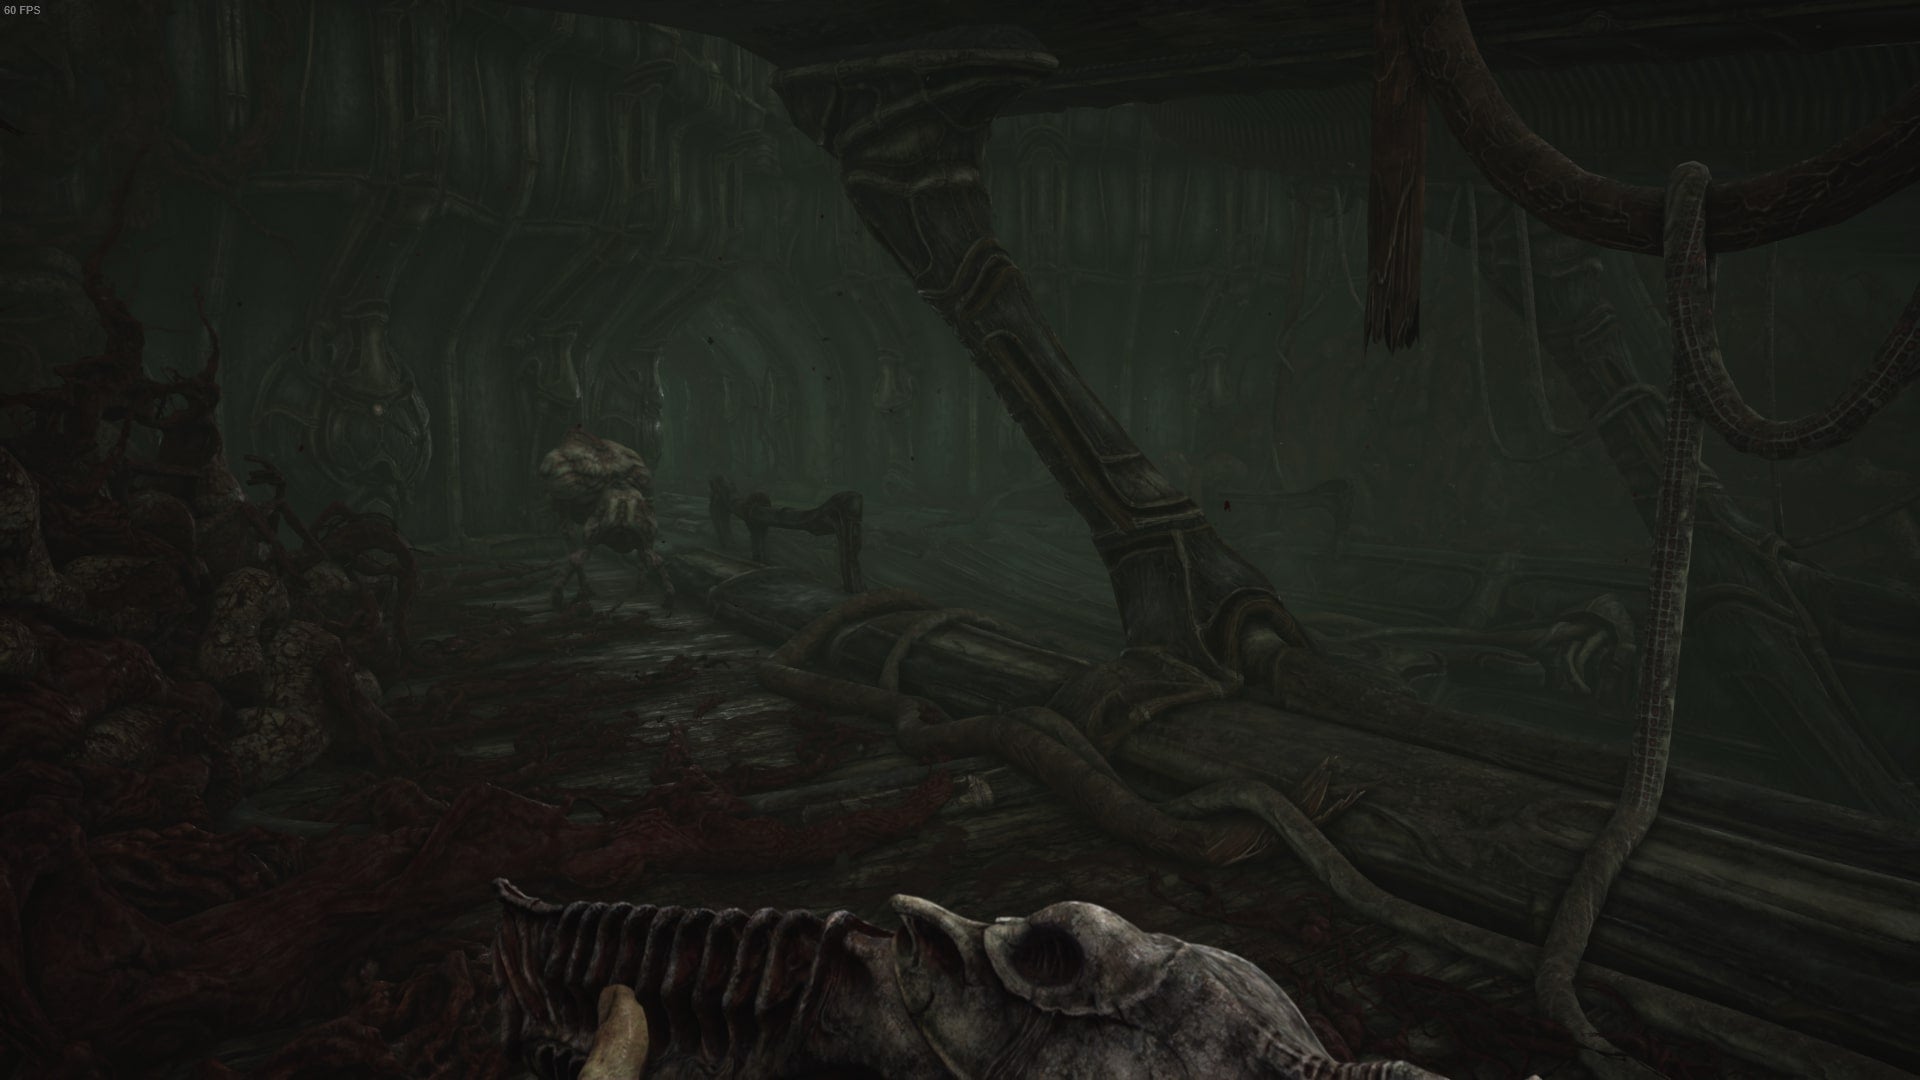
In this instance, the world of Scorn could very well be alive. For my own peace of mind, I keep pretending that it isn’t. Yet, as you pace each tunnel and explore this strange, extra-terrestrial environment you’ve found yourself in, it feels like the walls could suffocate and eat you up at any moment. This feeling is more prevalent in Act 3 of Scorn than the chapters before it, so be prepared for quite the ride. Here’s our Scorn Act 3 walkthrough and how to beat the nodes puzzle. As with our other guides for the game, here’s your spoiler warning.
How do I complete Act 3 of Scorn?
Act 3, unlike Act 1 and Act 2, is delivered in a single part. Your save checkpoints during this Act are at quite convenient places, so don’t worry too much about the danger lurking ahead.
Scorn Act 3 Walkthrough
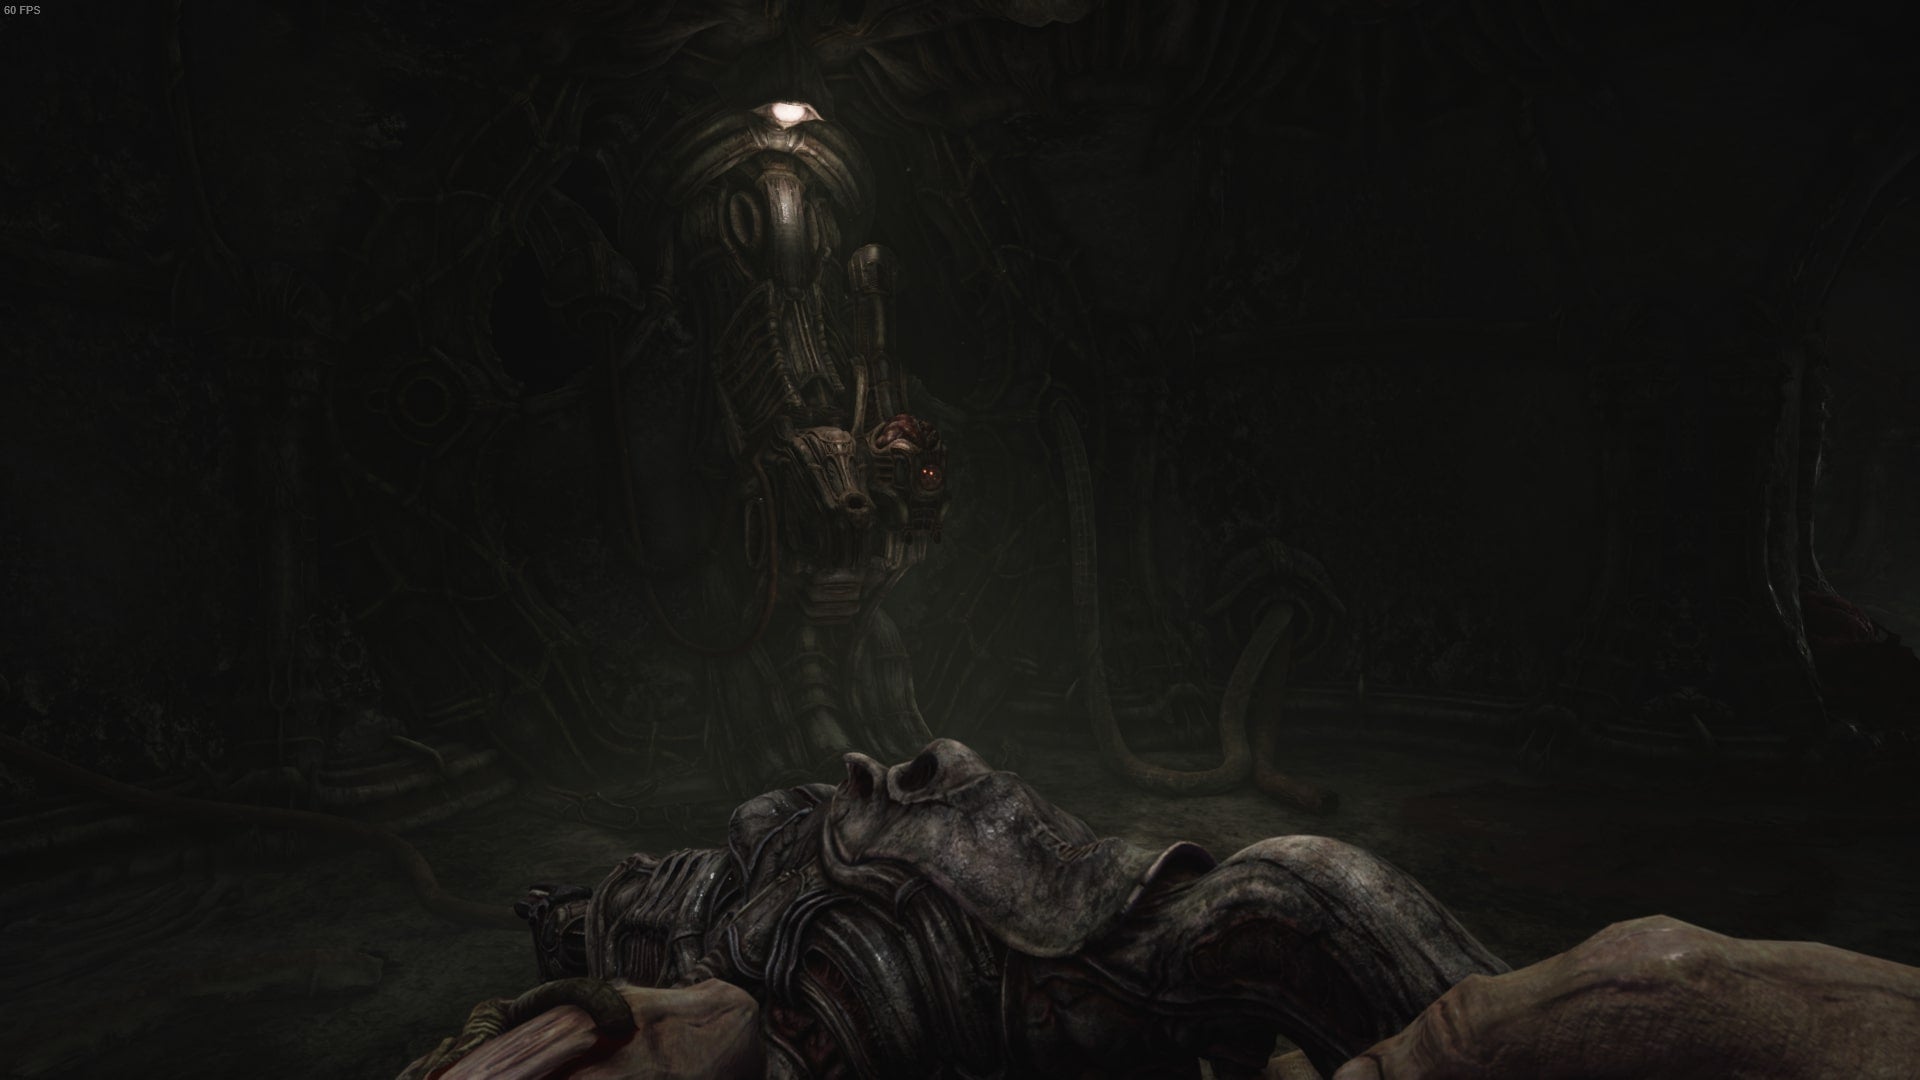
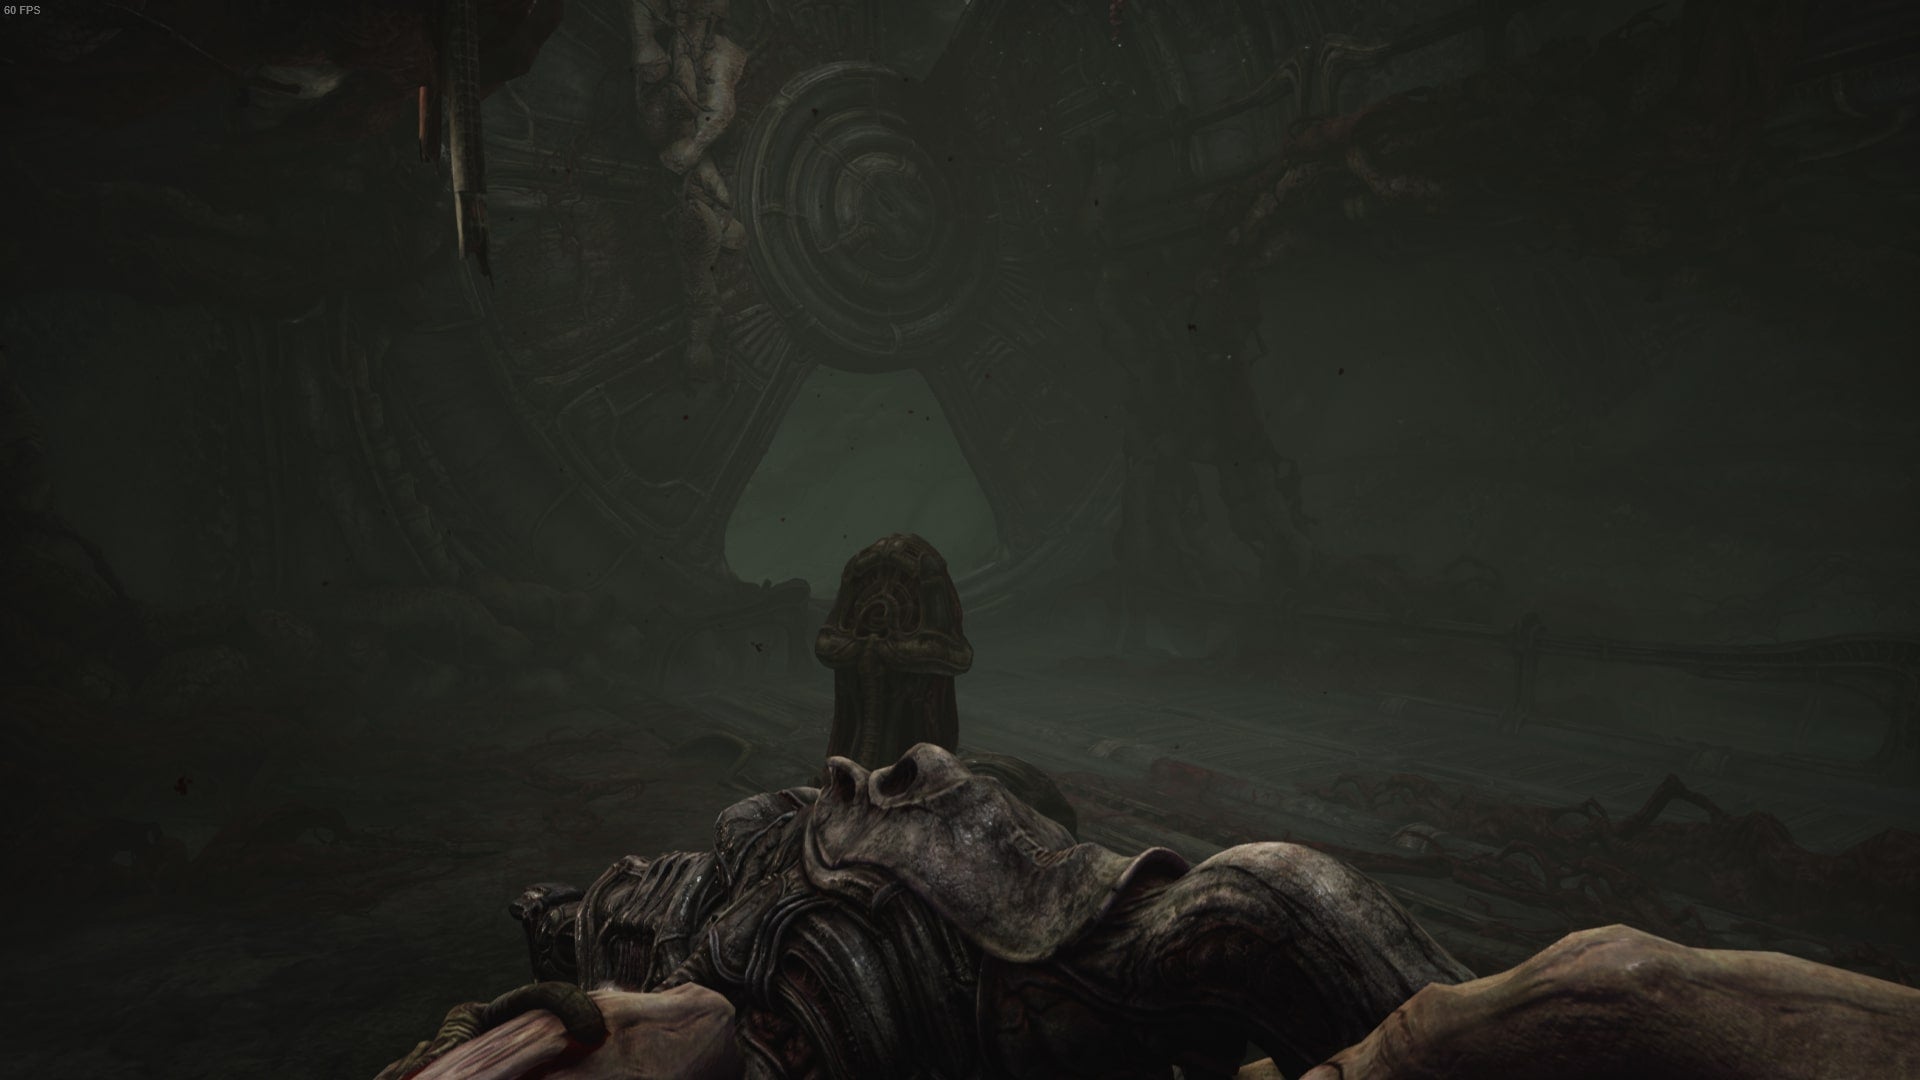
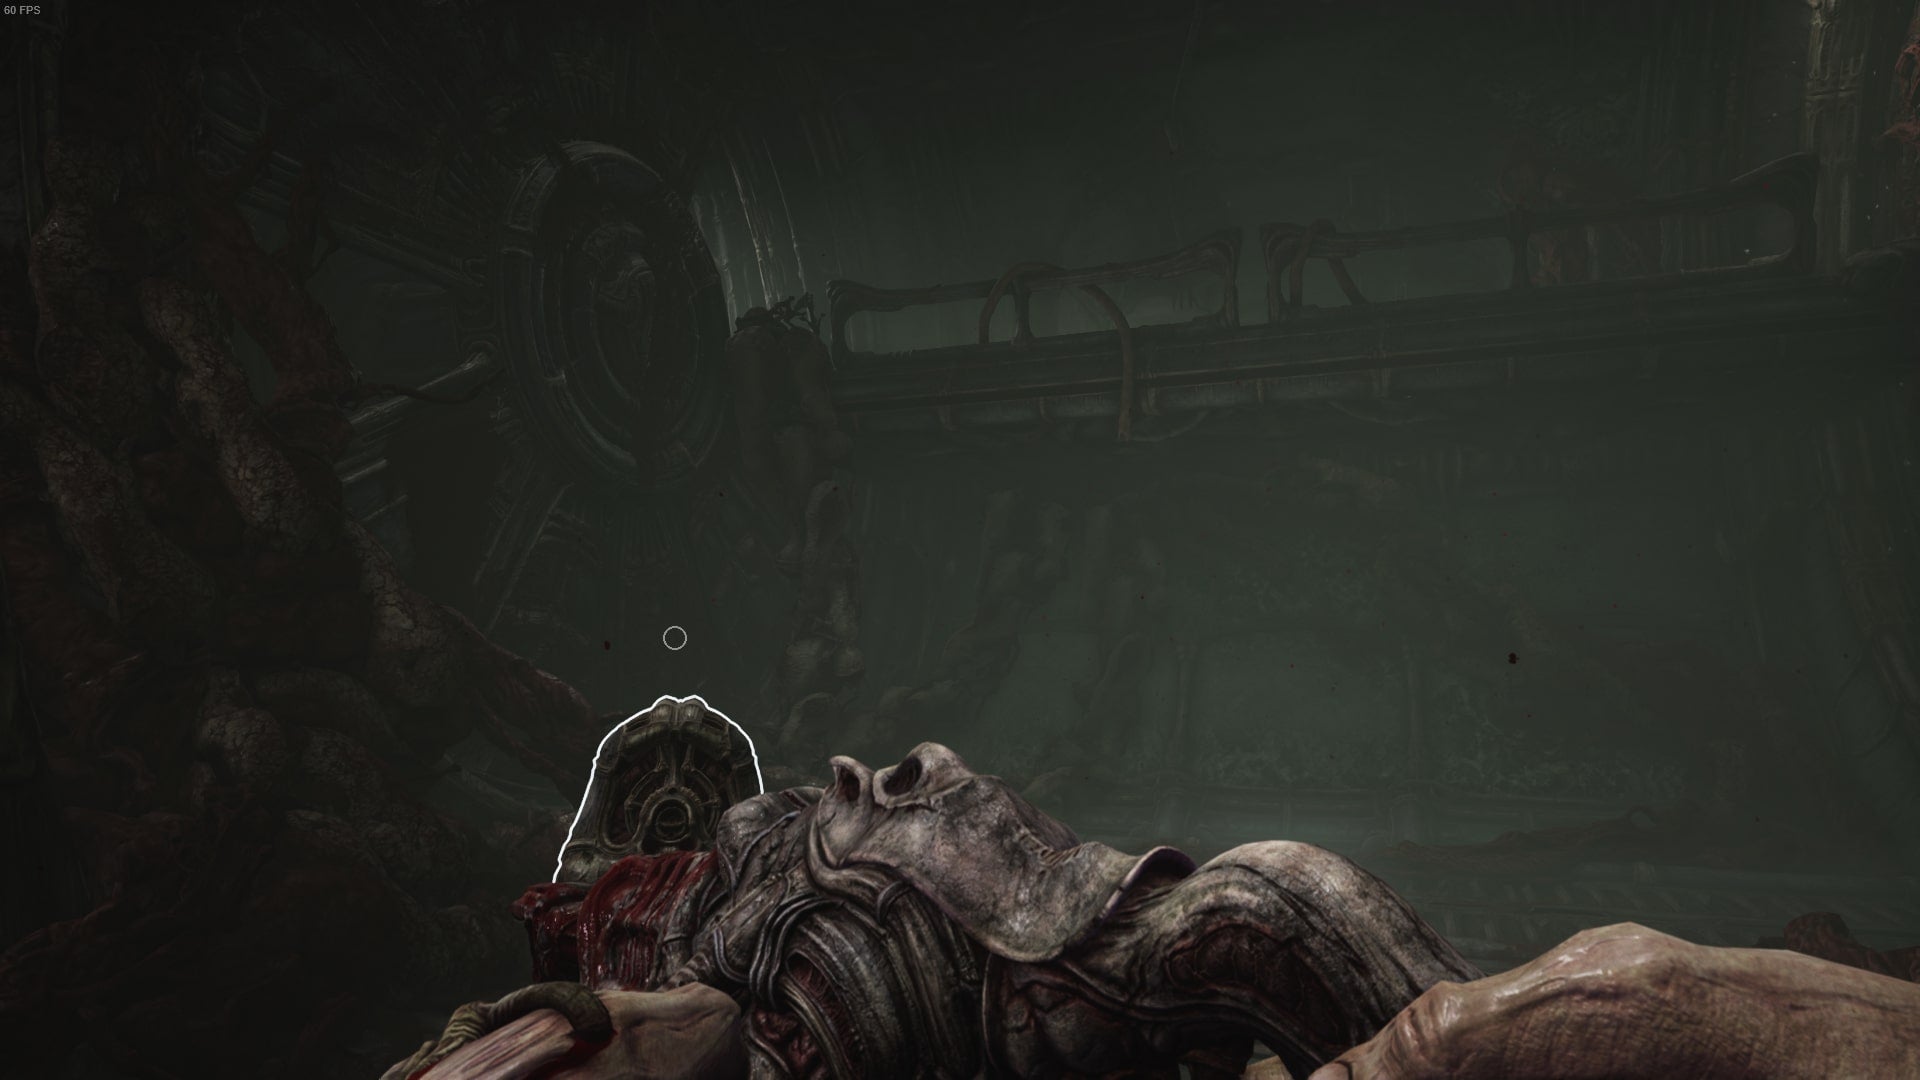
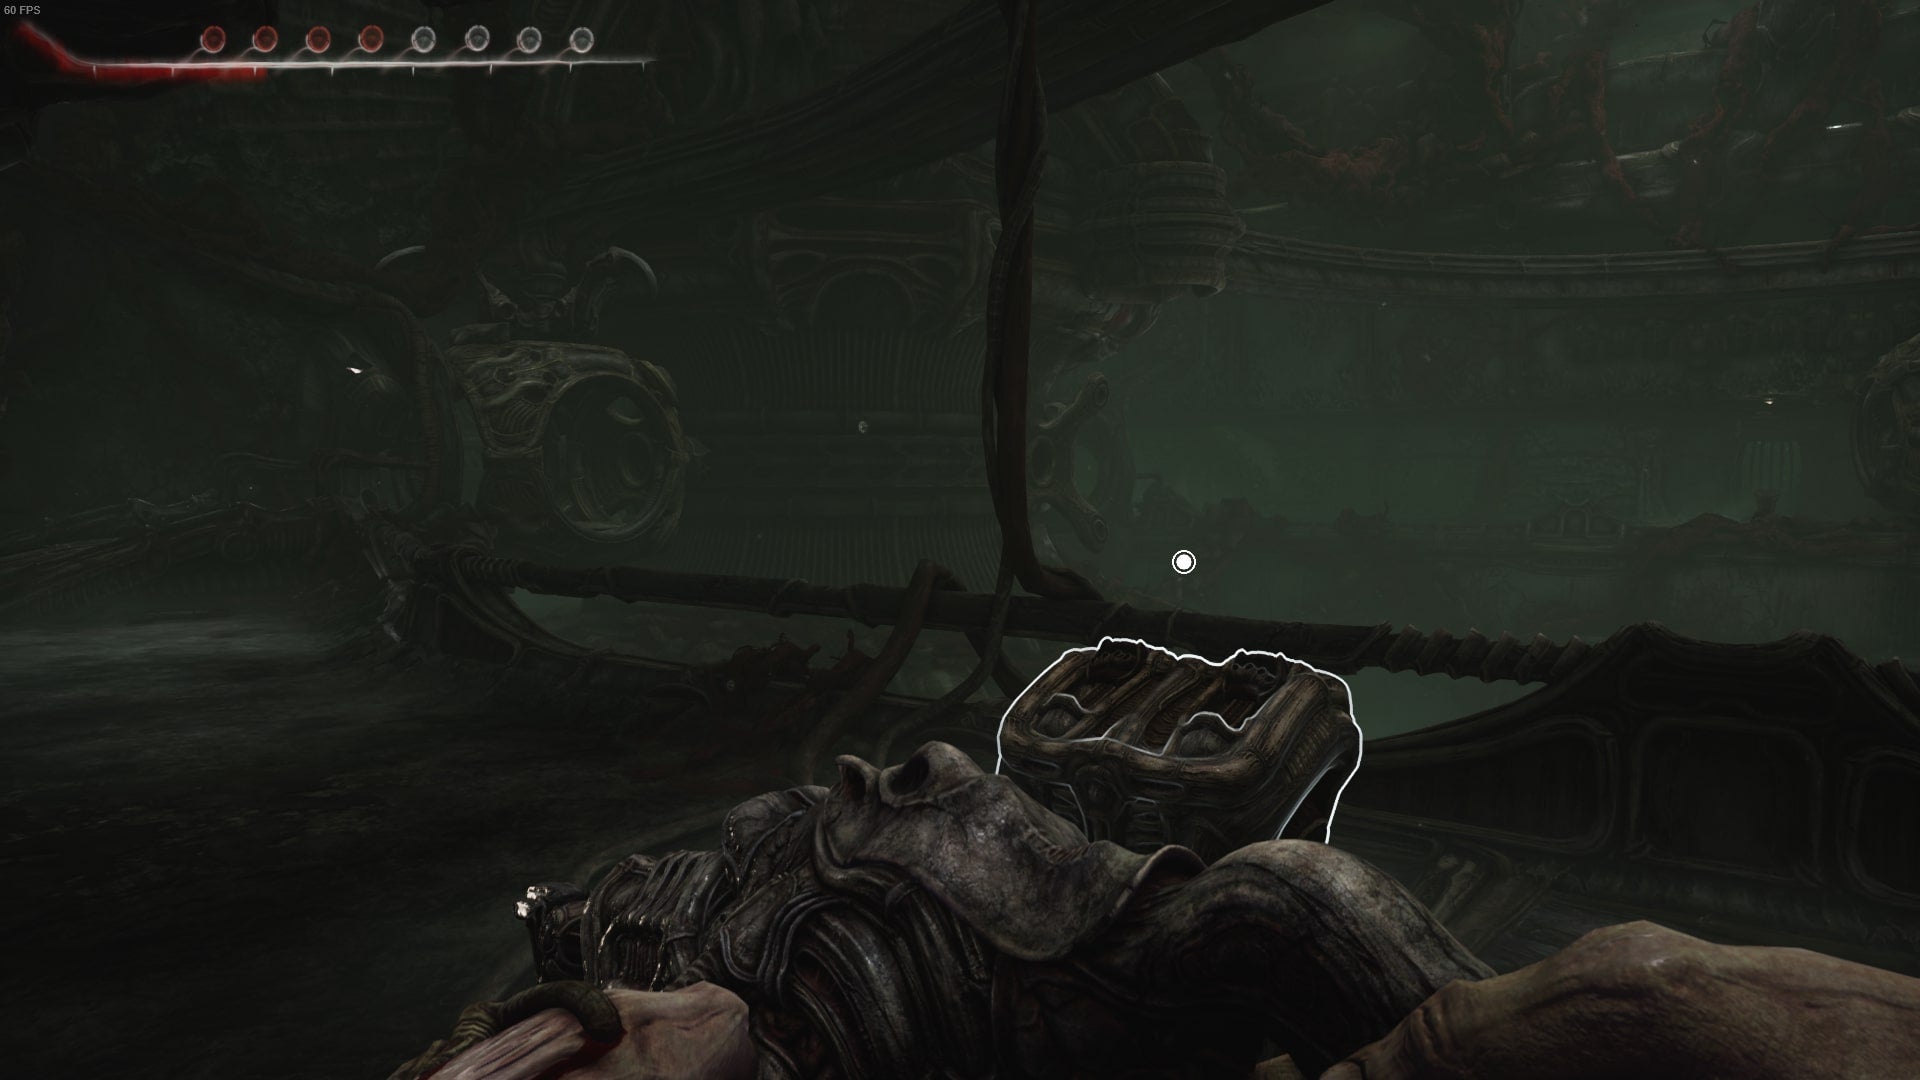
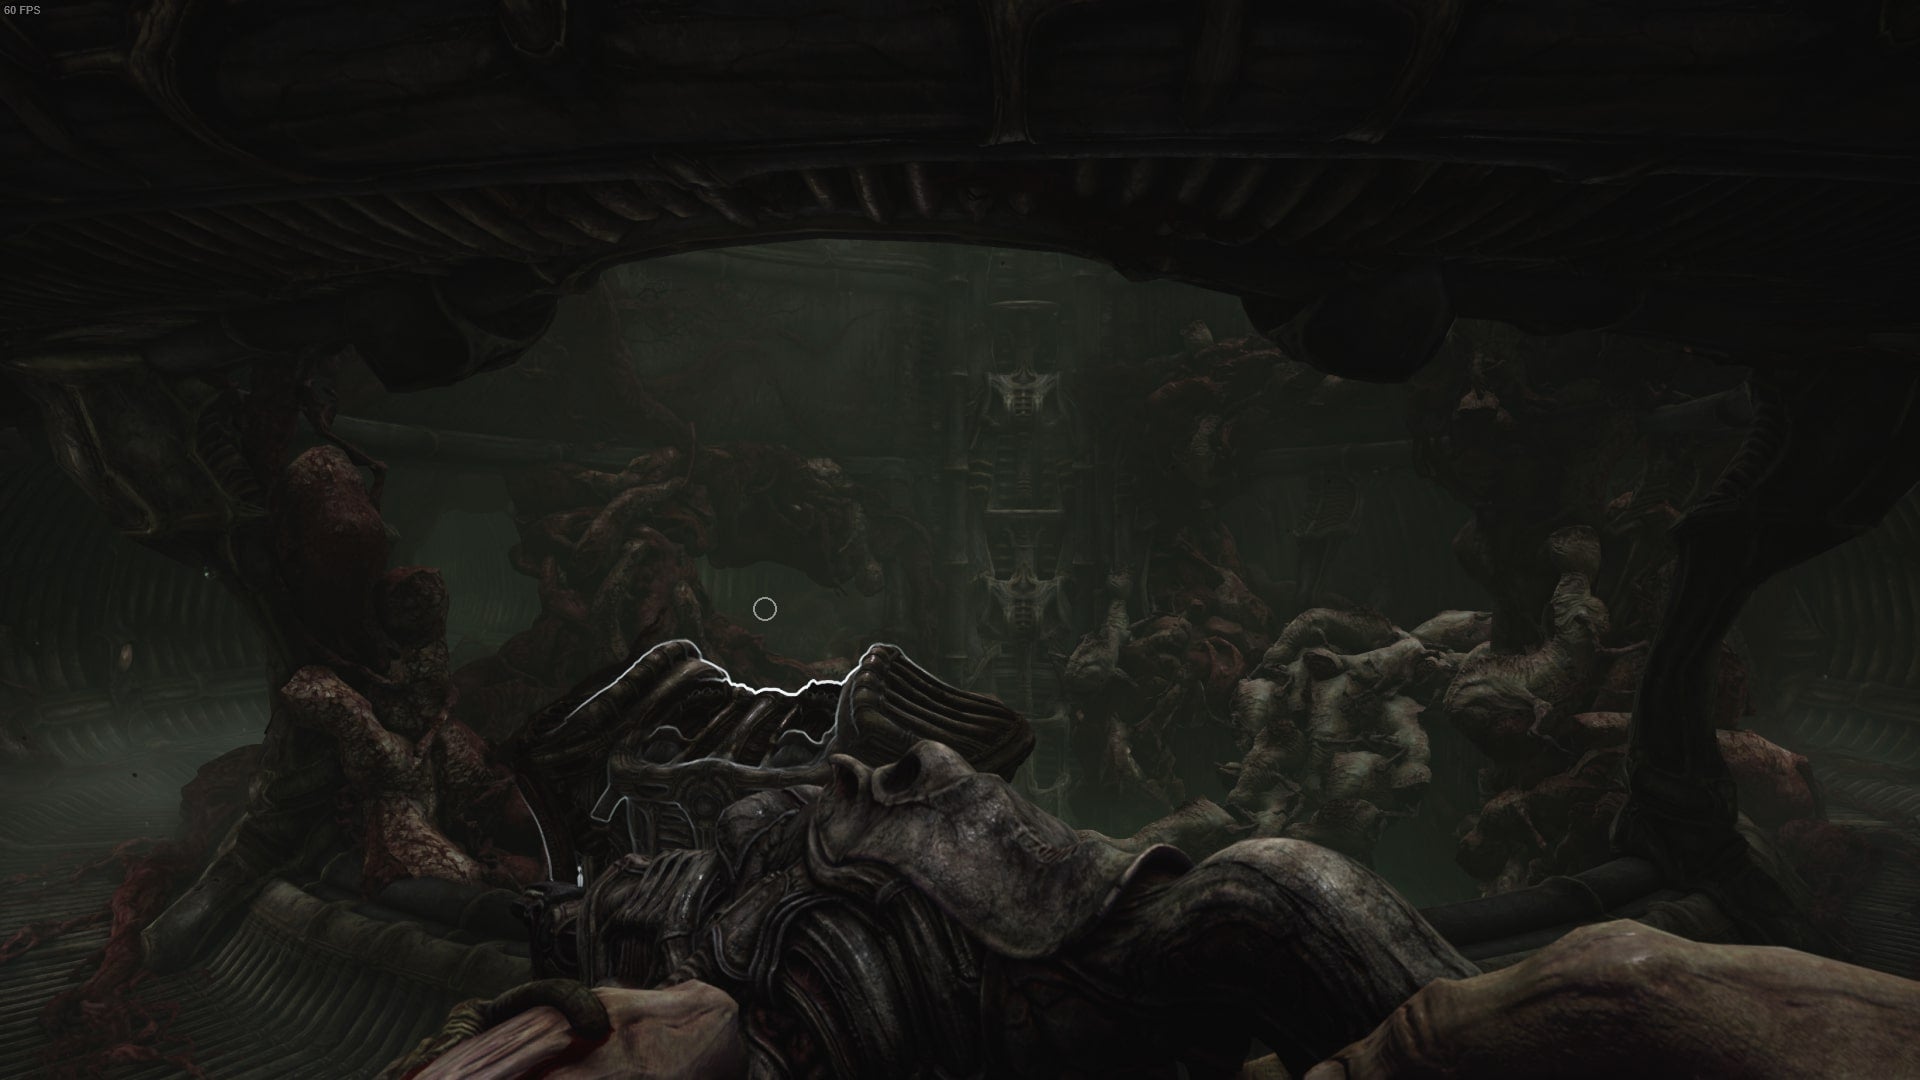
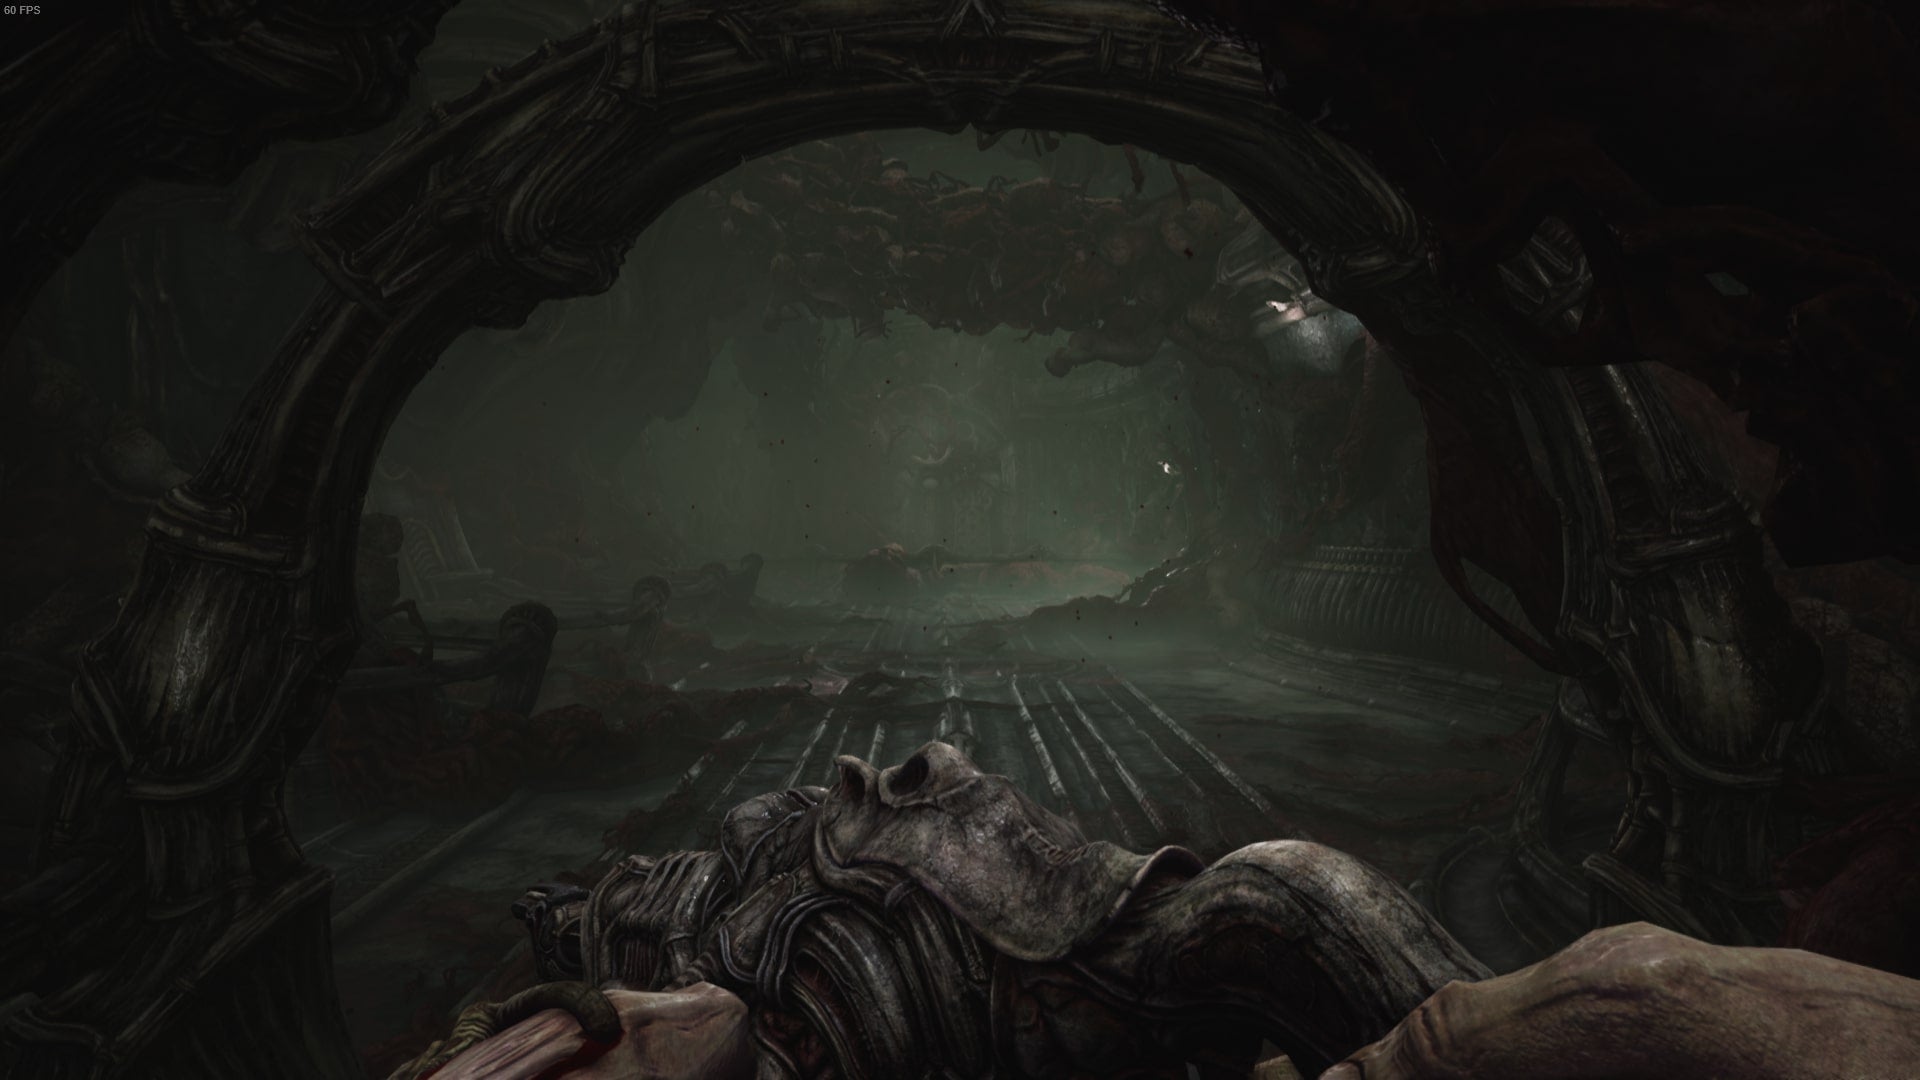
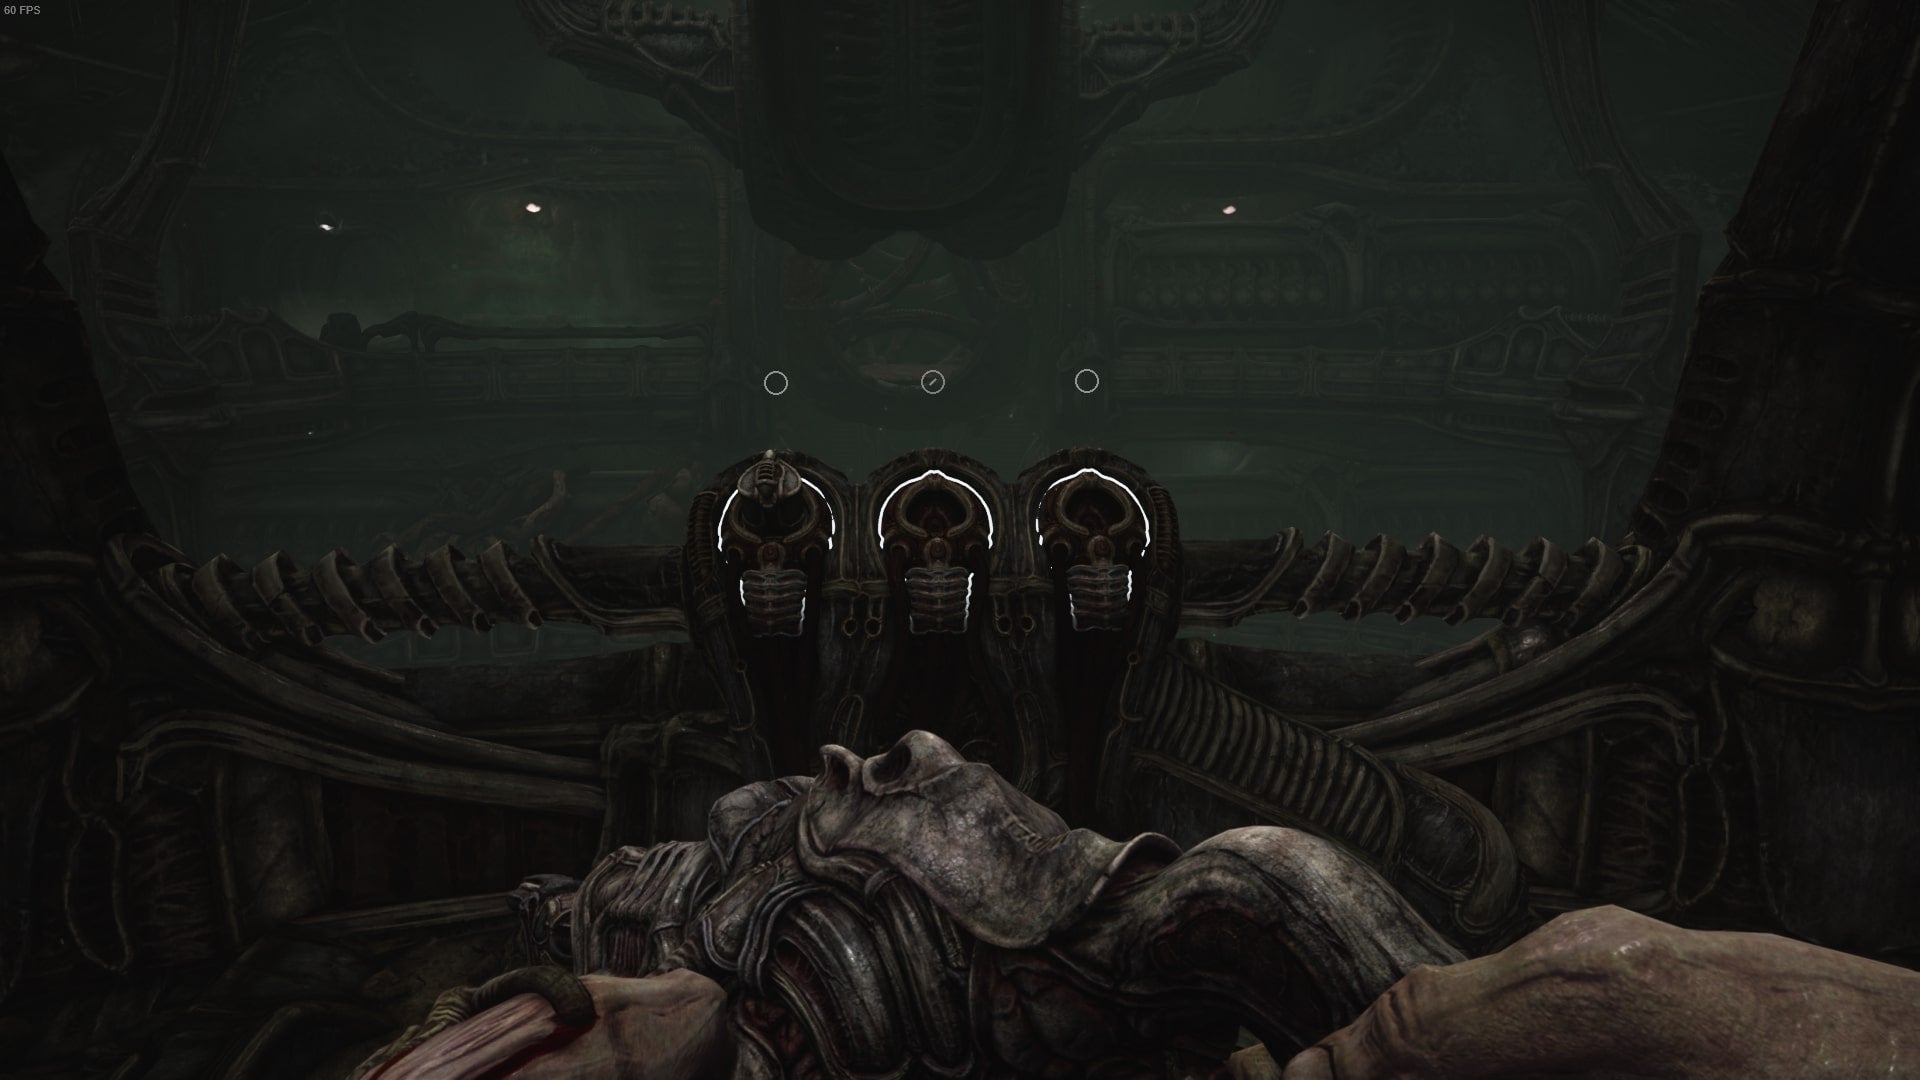
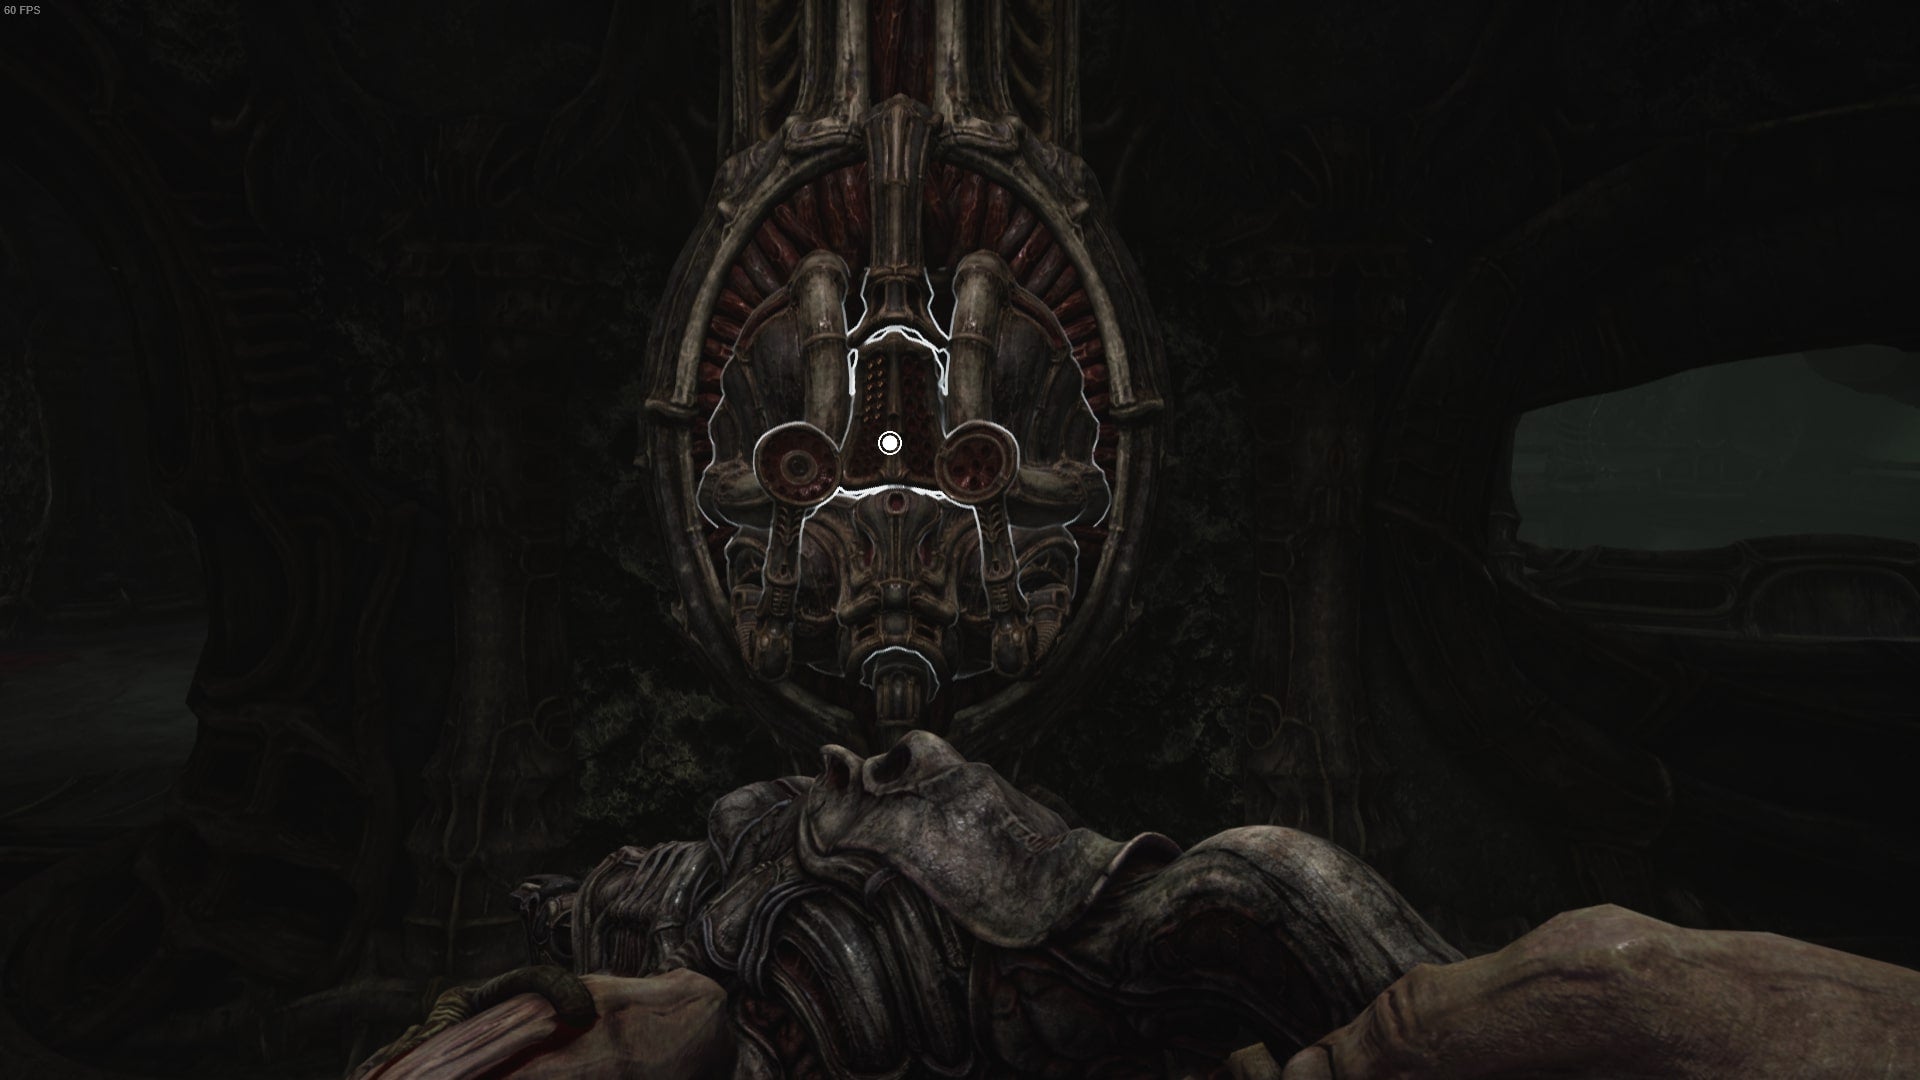
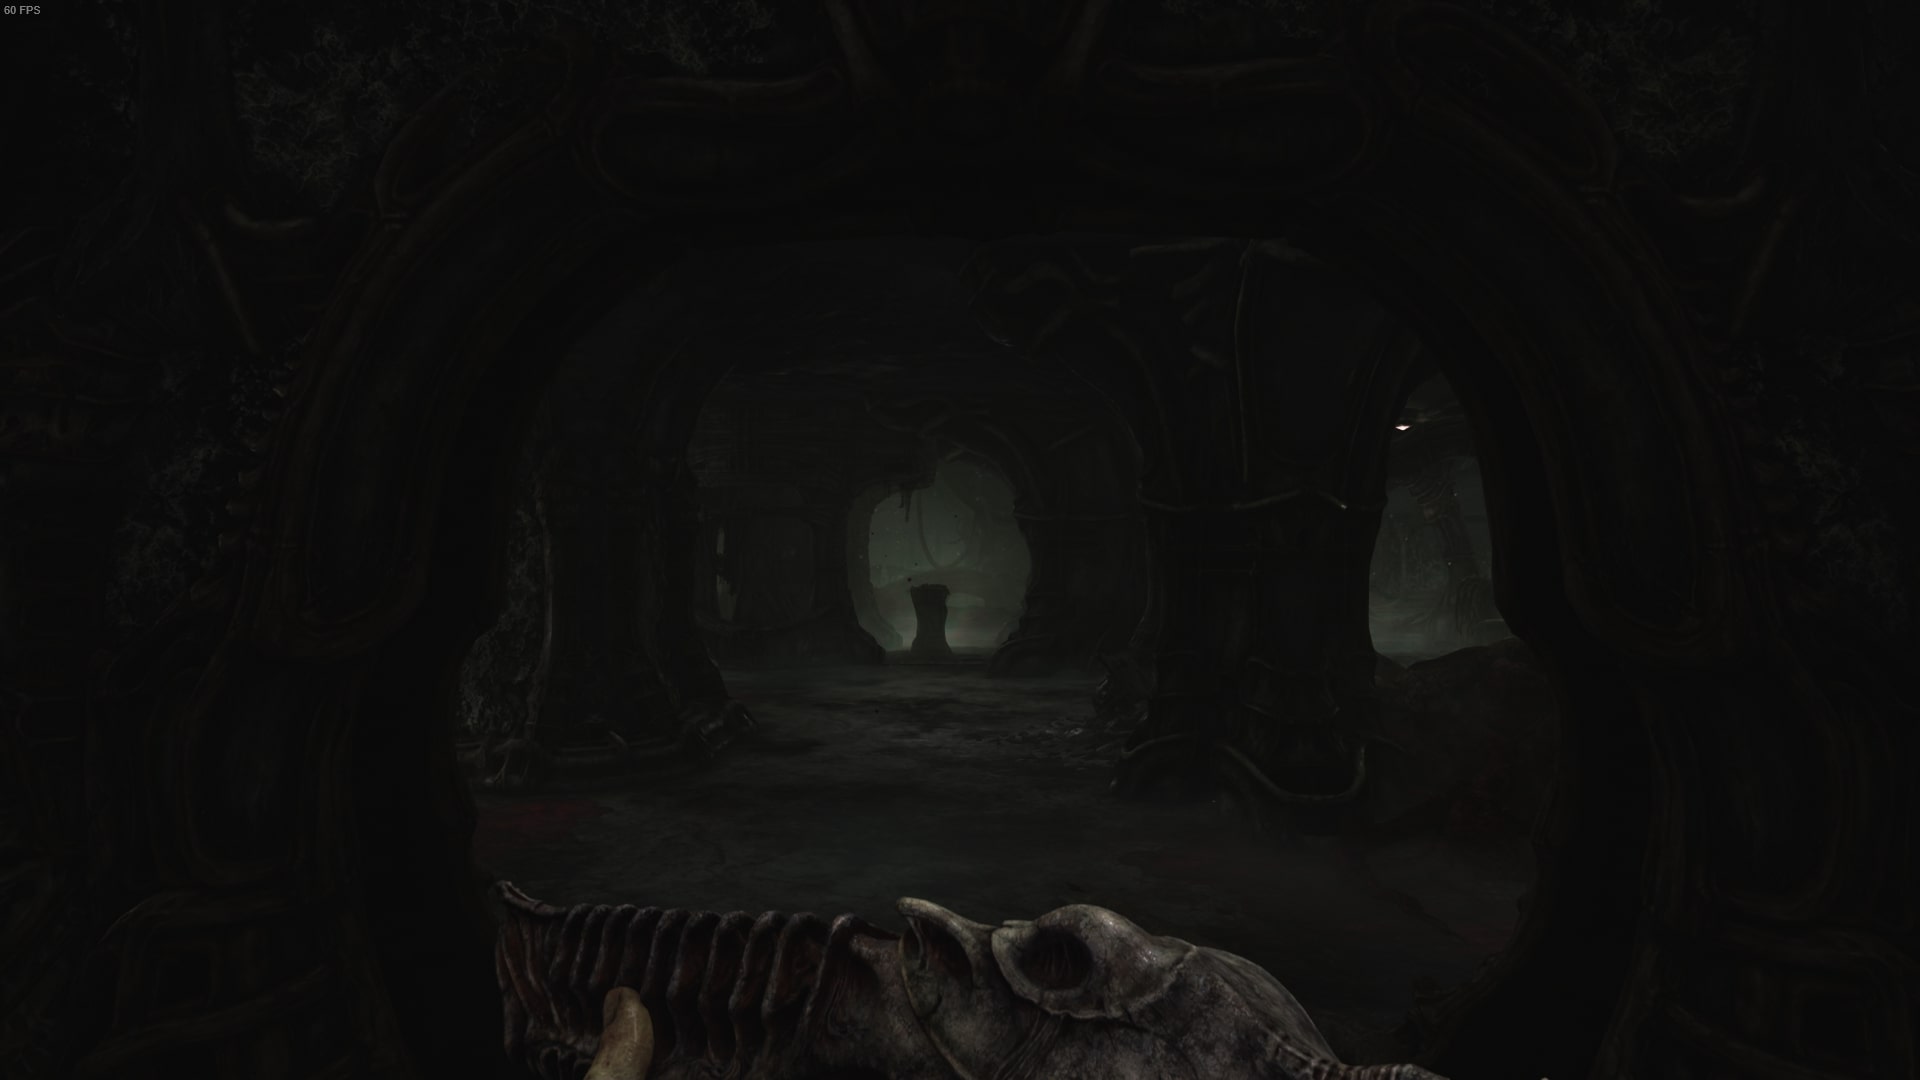
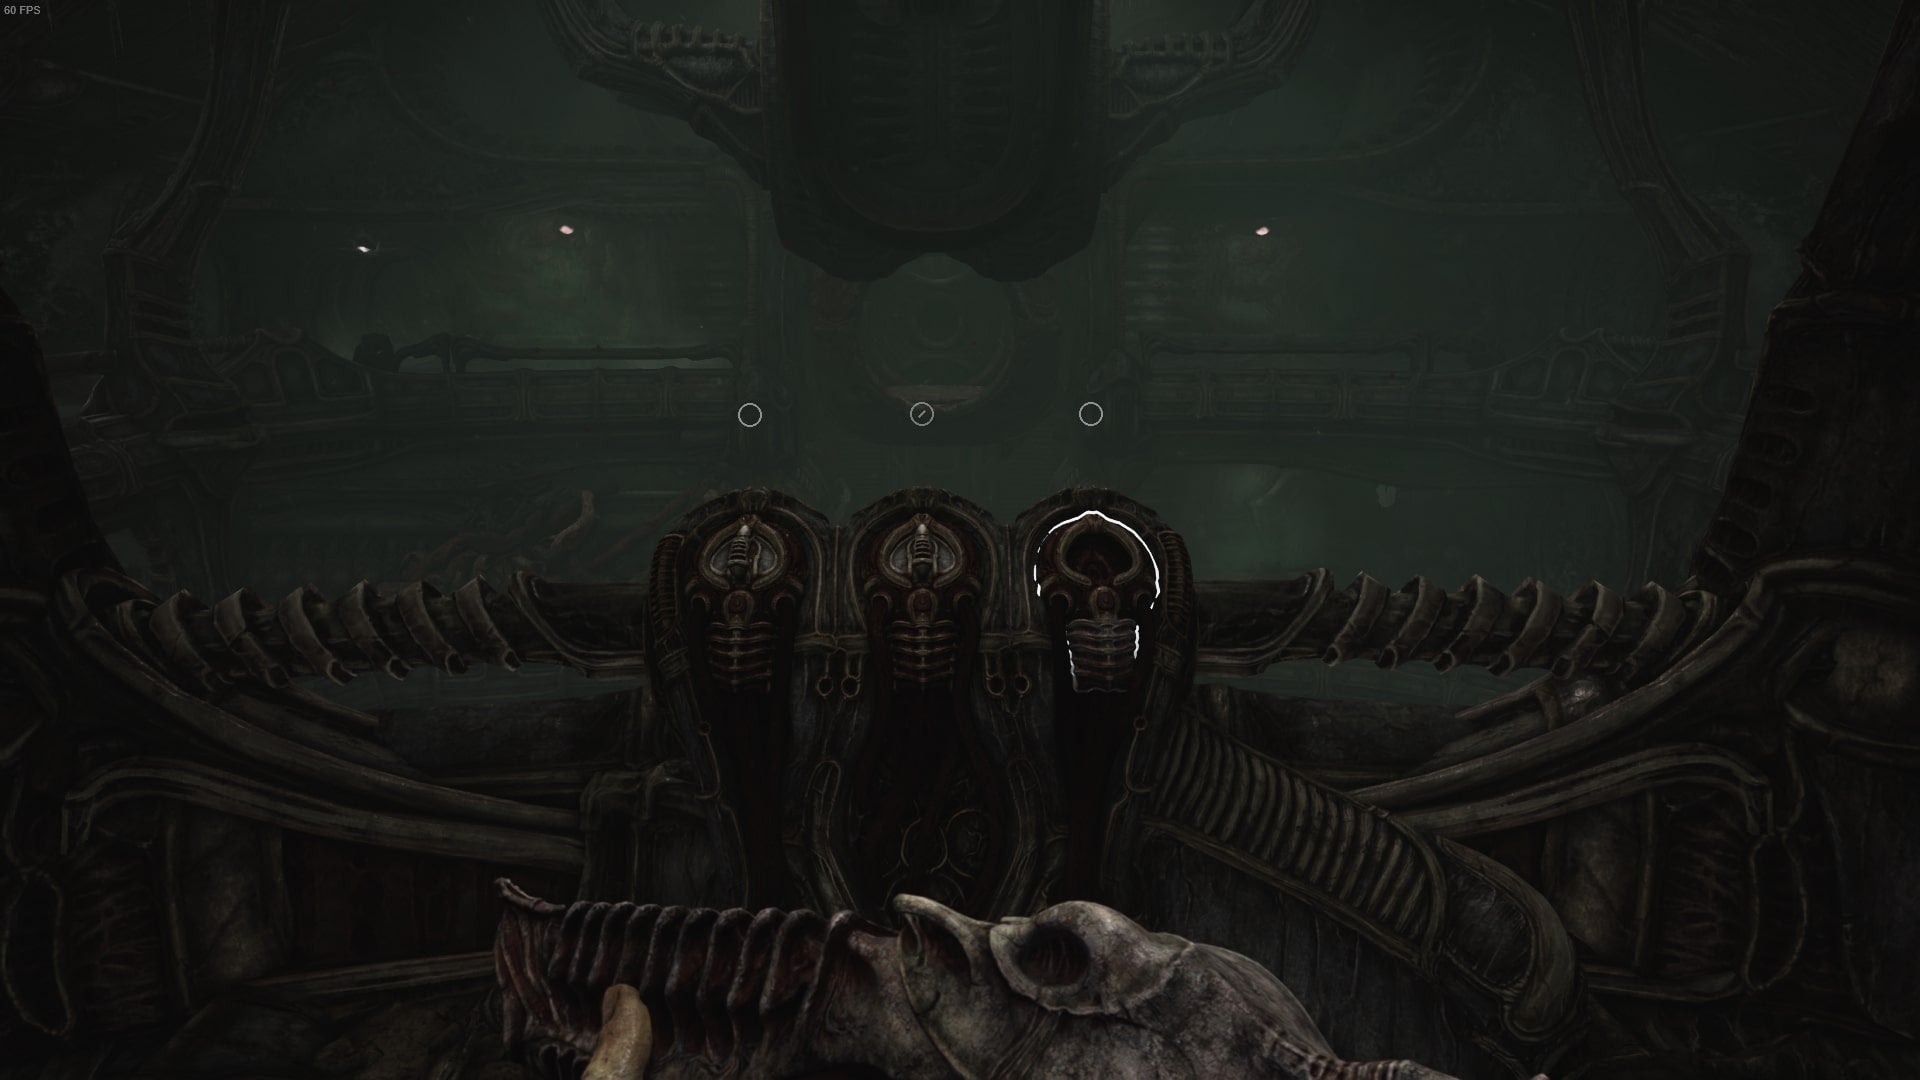
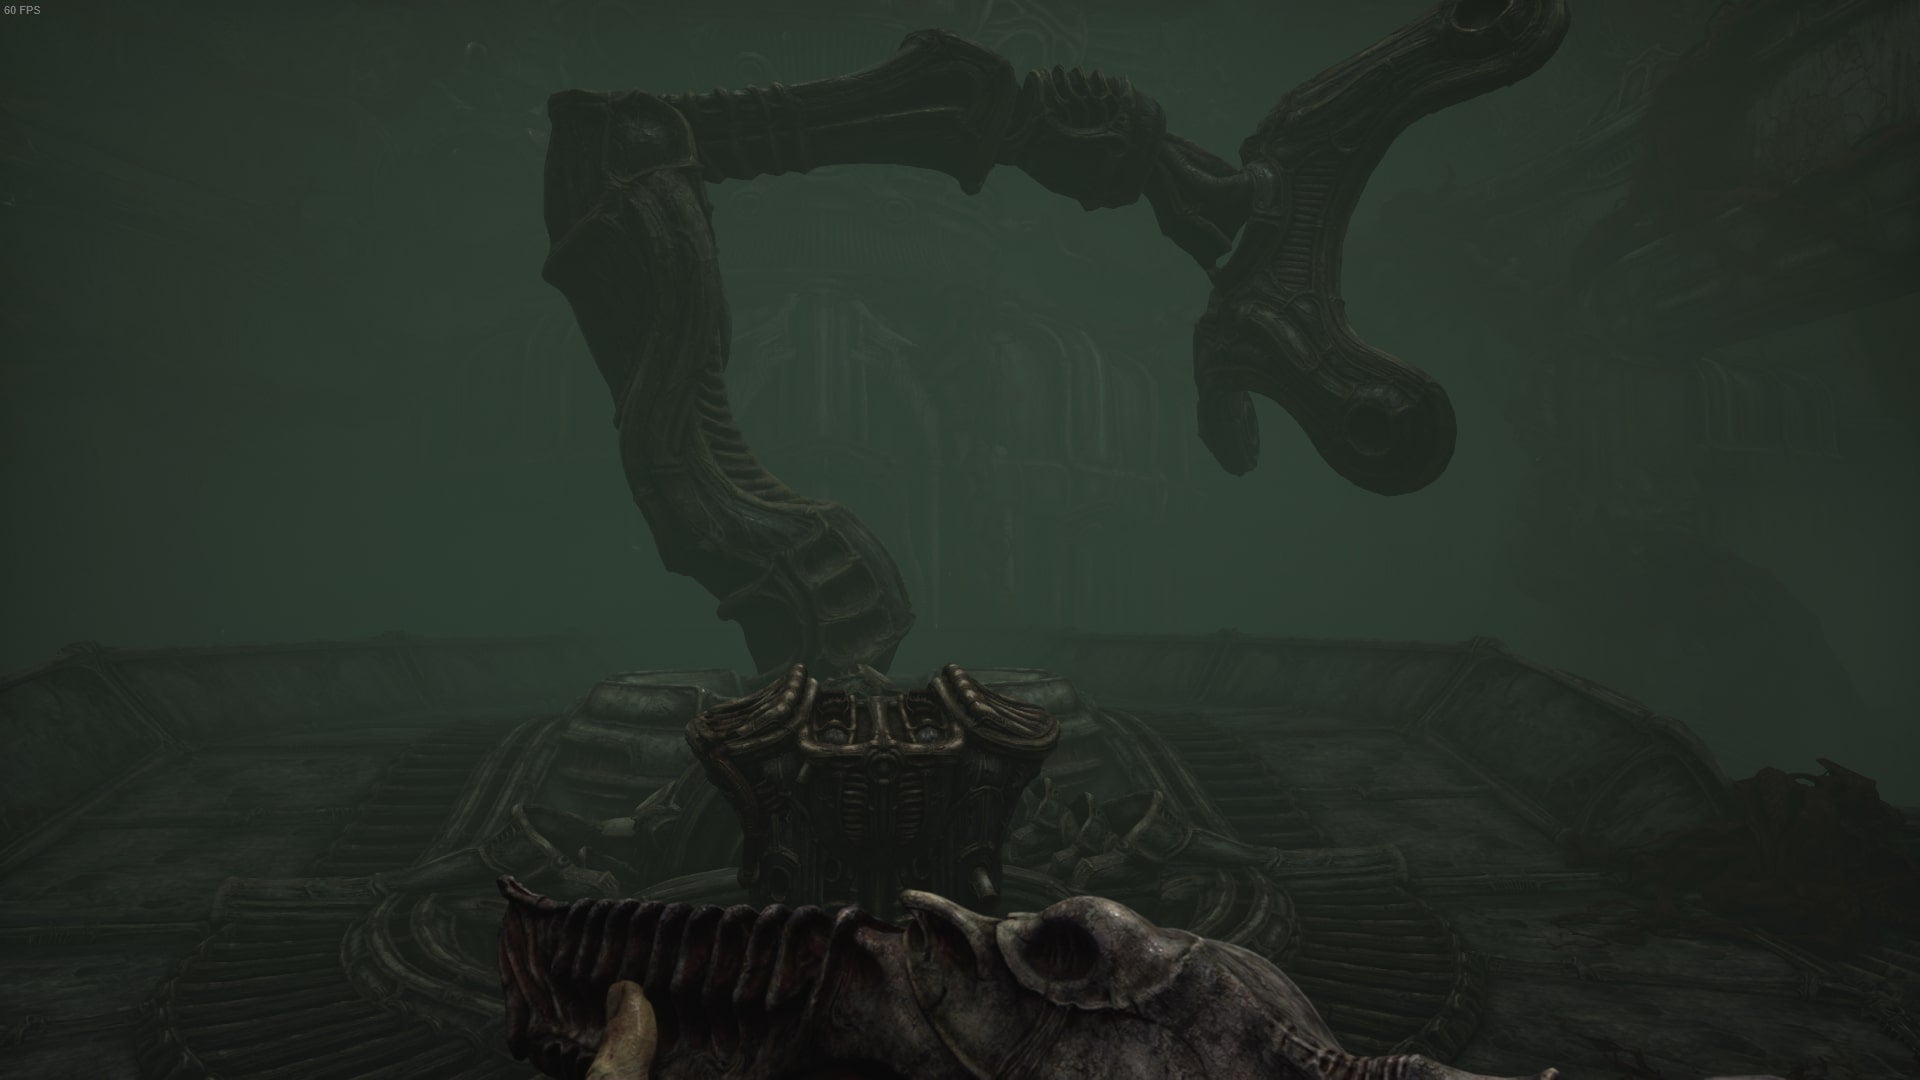
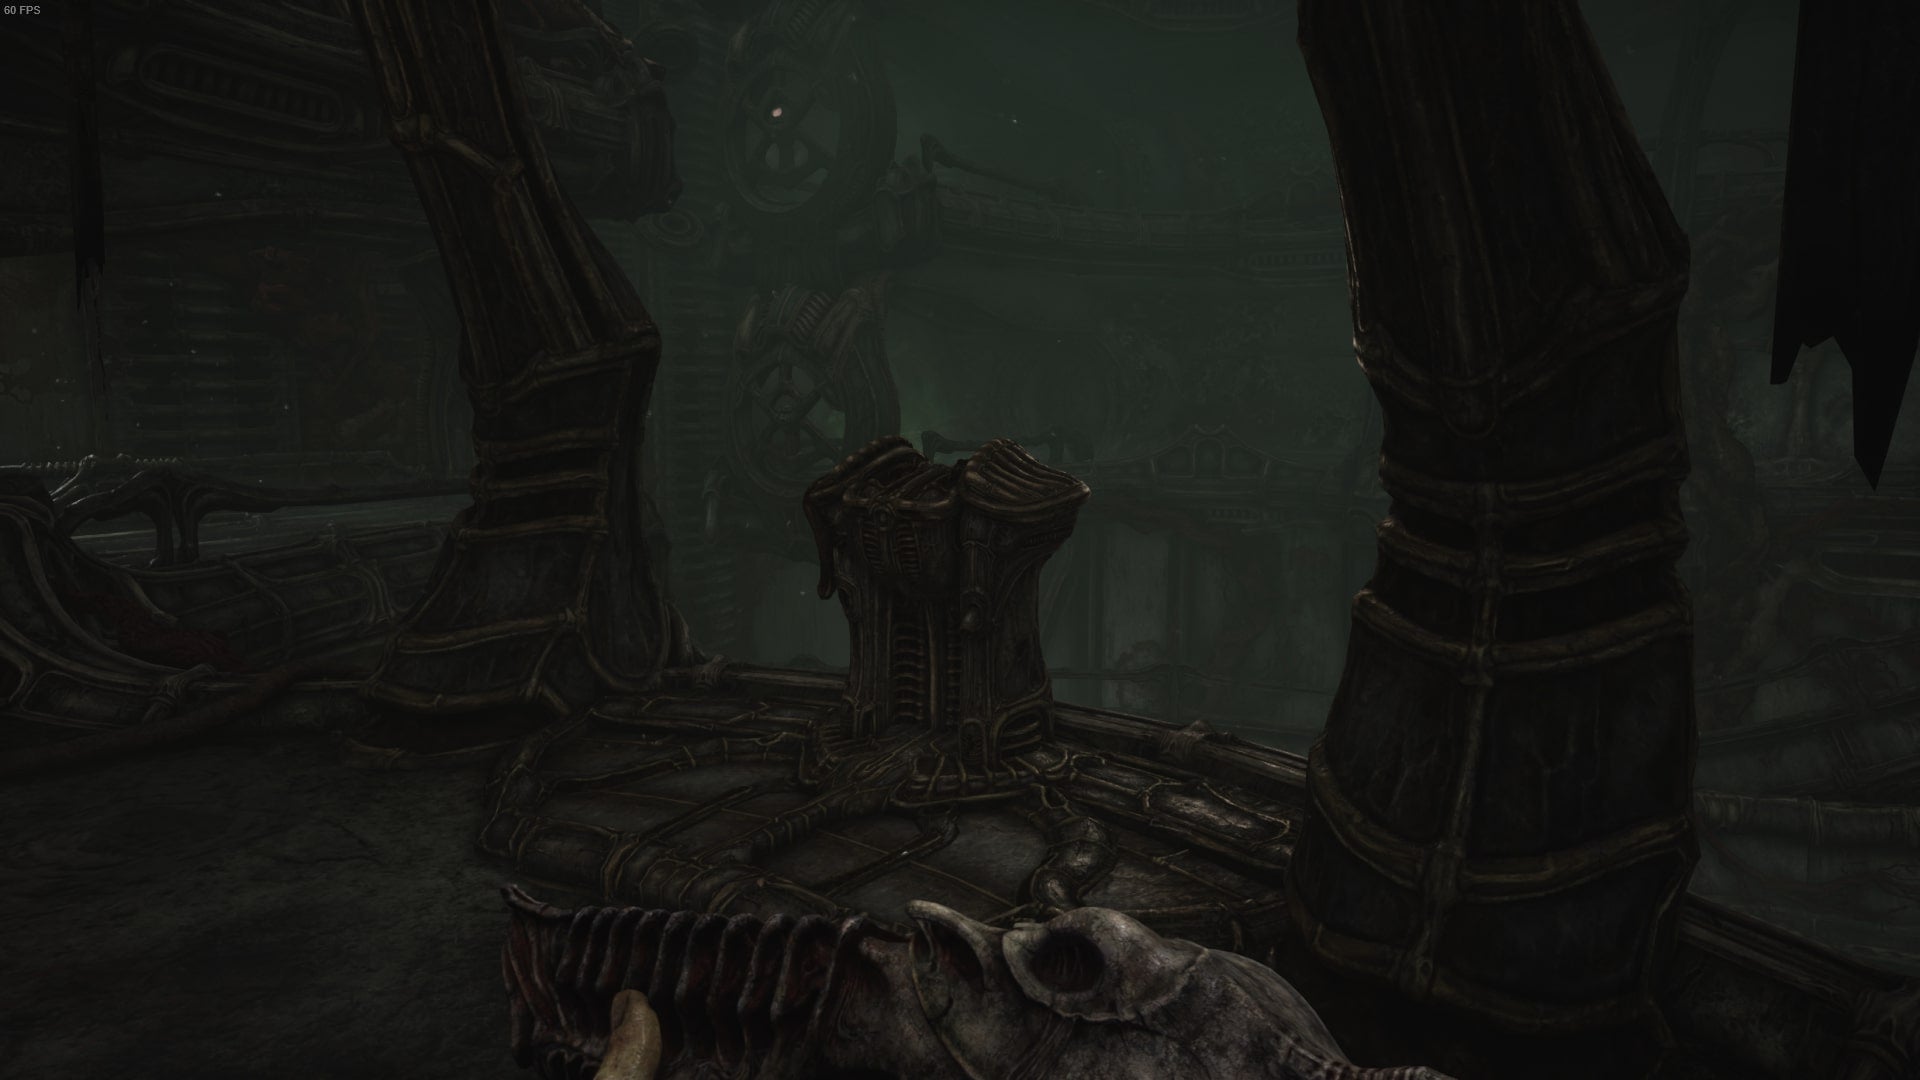
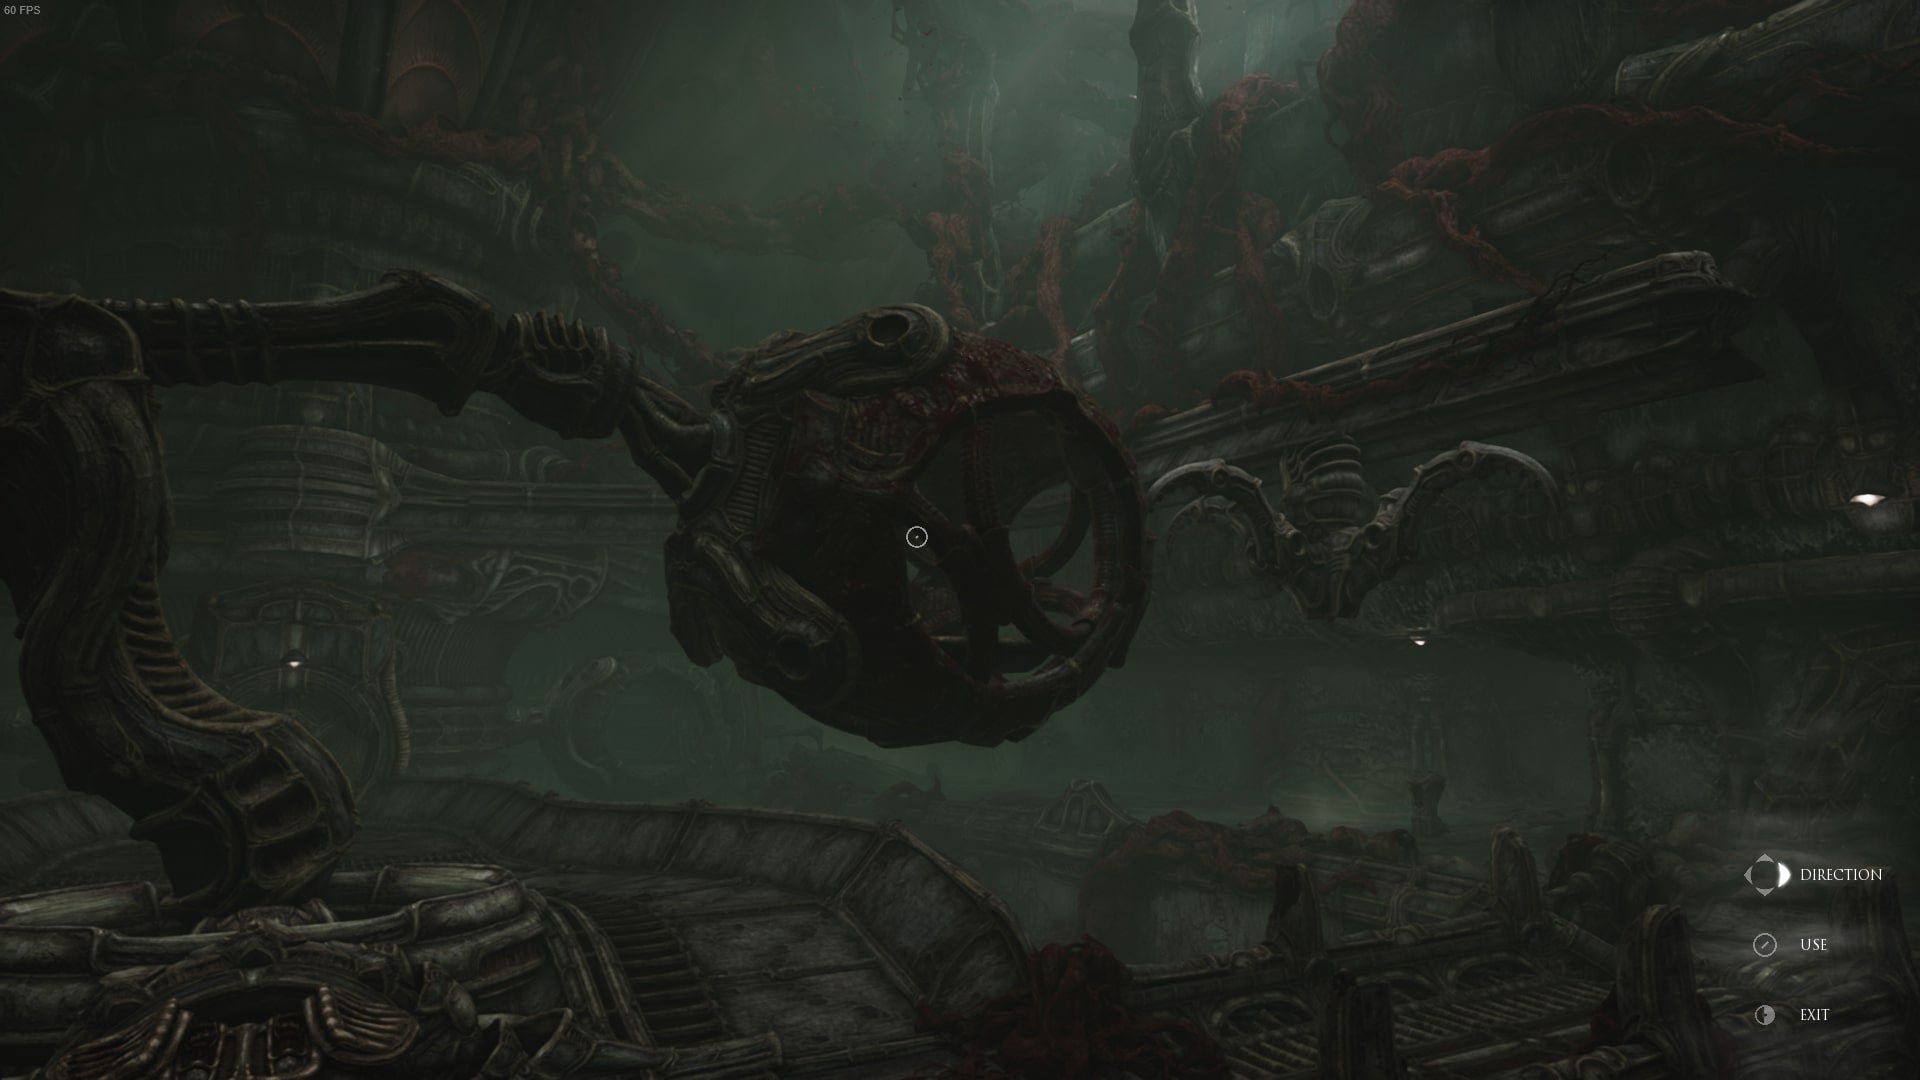
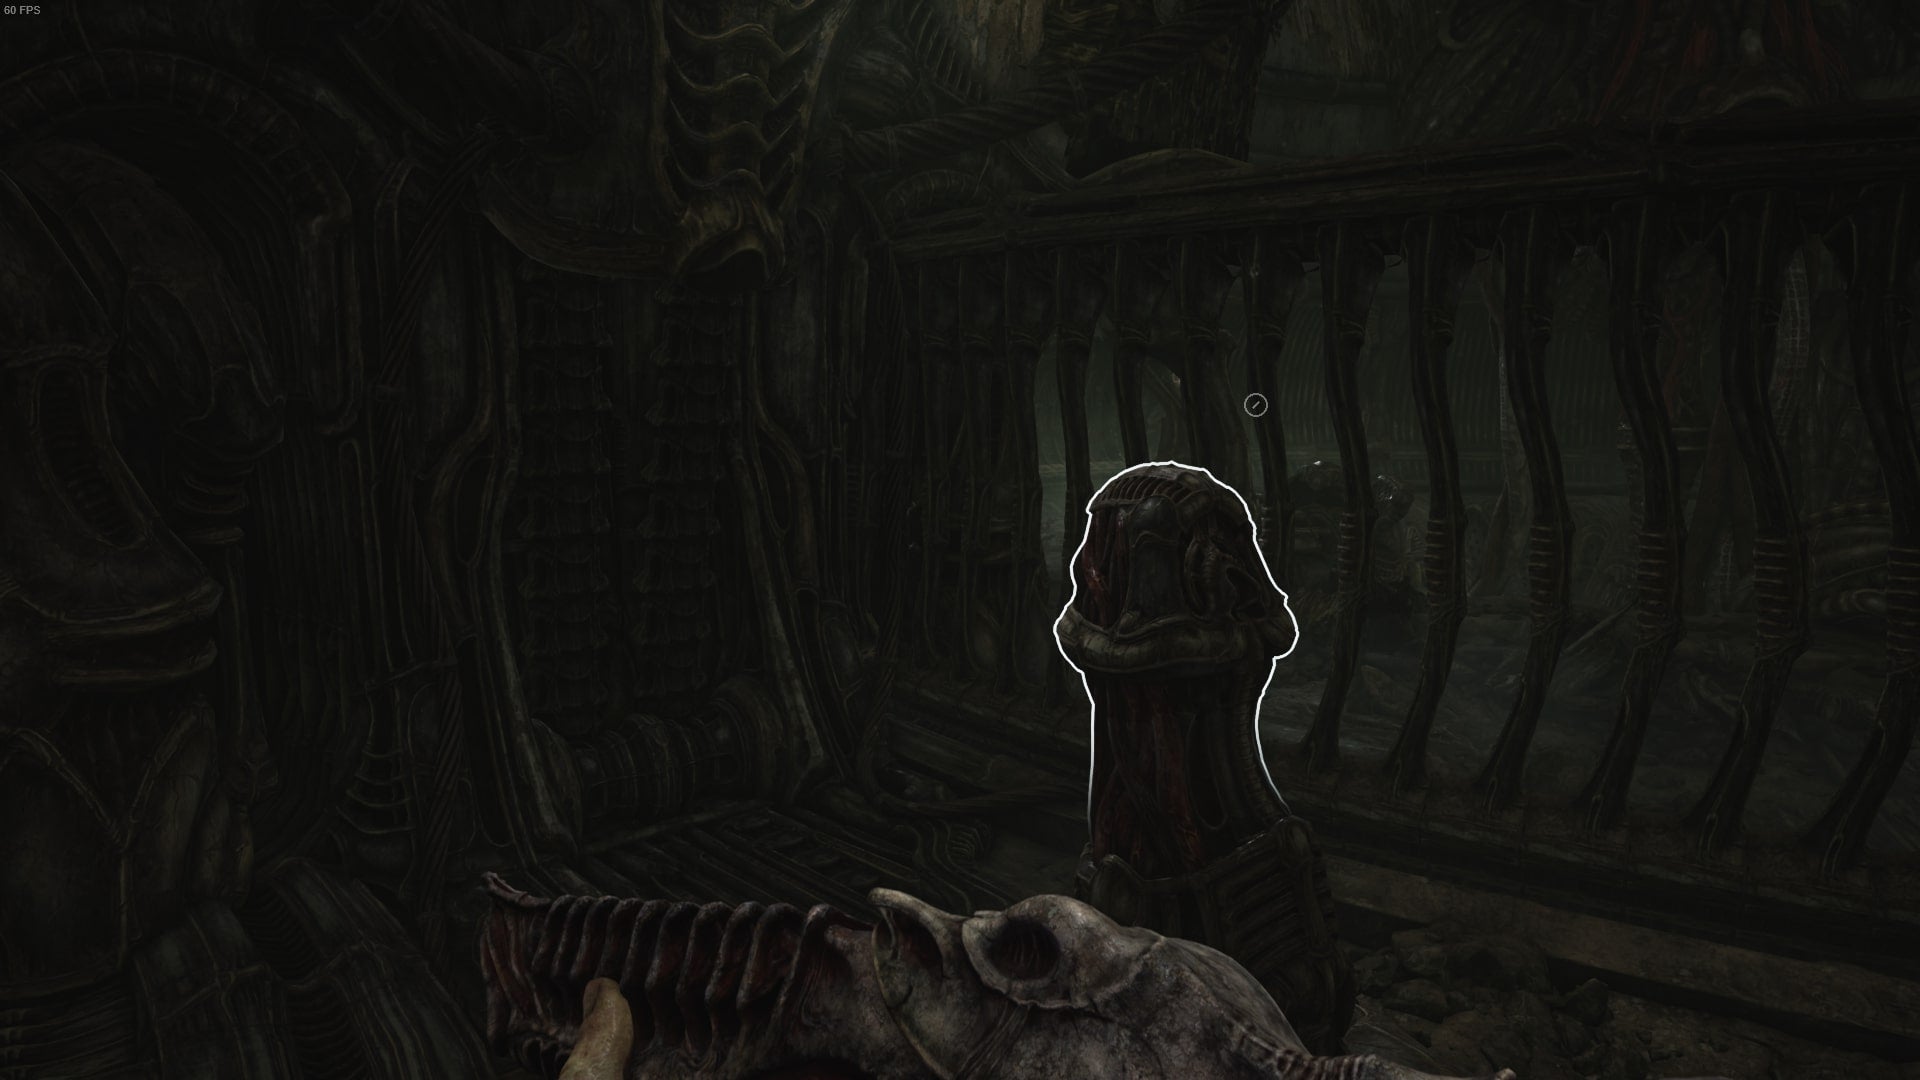
You’ll emerge in a room with three exits. Head forward and follow the path until you reach the machine shown in the below image. Then, interact with the machine to seemingly ‘upgrade’ the door-opening tool you retrieved earlier. Now, return to where you started the Act, and rather than going forward, go through the door on your left. With the tool upgraded to have two lights on it, you will now be able to open the door without any trouble. Continue onwards until you reach a pillar that is activated by your weapon. Use it, and the large mechanical vent in front of you will stop, meaning you can now walk through it. In the next room, interact with another pillar to stop yet another mechanical vent from moving. You’ll then see a new exit, but it’s only accessible from a higher level. You’ll also want to flee or attack the small, acid-spitting creature here. Now, go to the first pillar that was activated by your weapon, and use it again to turn the first vent once more. Then, head back upstairs to where you started the Act, and go through the middle exit again. You’ll now be able to go through the new path you made. In the next room, interact with the two-handed pillar to move the dangling cube in front of you. Then, go ahead and hop inside the cube. Hop out again, and activate the next pillar that you’ll see here. Then, head down the new path that has emerged now the next cube has been moved. Again, take caution of any acid-spitting enemies you may run into. Follow this path until you eventually reach a crossroads; to your right, there’ll be two more pillars, and what looks like a machine that holds the cubes you’ve just seen. To your left will be more tunnels. Head right, and keep going right until you reach the machine shown below that stabs the crab-like creature we found earlier. We encountered a similar machine in Act 2, and while I didn’t know what it did back then, I’ve now realised that it can be used to heal you! This machine, I assume, recharges your heals. Then, leave the machine and return to the crossroads, but go left towards more tunnels this time. When faced with three more paths to take, go straight and into another cube, and then right. Follow the path round, which takes a short while, and you’ll eventually come out in a small room with another two-handed pillar to use. Use it, and a new cube emerges. In this room, there will be another exit to your right, but also another acid-spitting creature to avoid. Exit here, follow the path, and make sure to use the crab-stabbing heals machine you’ll encounter along the way. When you enter the room shown below, you’ll want to go to the end of the room and right; an acid-spitting creature will block your way, however, so you’ll need to kill it or coax him out of the tunnel before continuing. You’ll eventually reach another level with another two-handed pillar. Use it, and the cube from earlier will ascend even further. Multiple acid-spitting creatures will emerge. Take care of them, or run past them and head right. Keep going right until you reach the three pedestals shown below, and interact with the left one. This will move a cube up ahead, and clear a new path for you. You can now run over to the newly-cleared path, and hop in the cube once it’s on your level. Following the brief cutscene, head right, and then immediately left into a room with two machines. Use the below machine to upgrade your alien-crab to have more healing power. Then use the machine behind you to have your weapon upgraded.
Node Puzzle 1 in Scorn Act 3
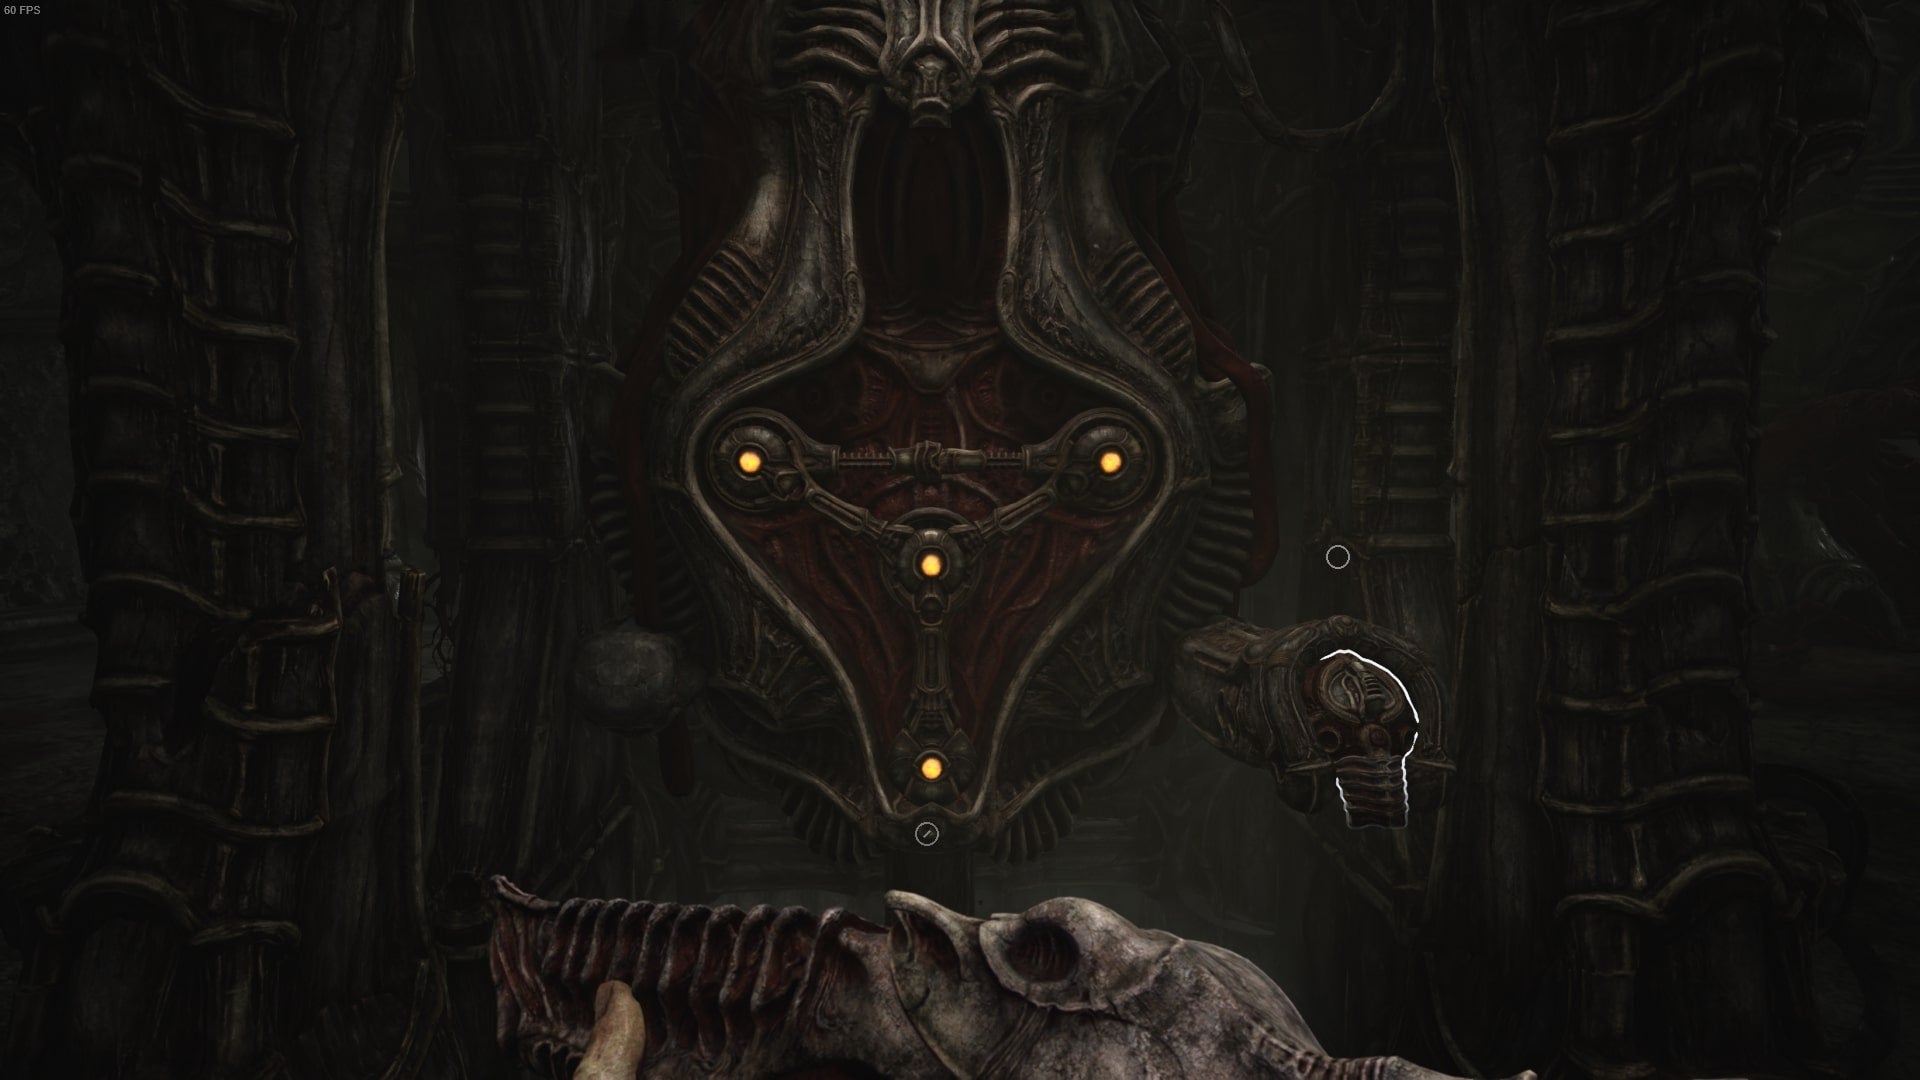
When you exit this room, head forward towards the pillar shown below, and prepare for perhaps the trickiest puzzle in Scorn so far. Essentially, you want all four nodes in this puzzle to be illuminated. You can use the middle node to break the connecting lever between the top two nodes, which you will need to do in order to light up all four. With the connecting lever broken, you can use the small triangles on each node to see how many times each needs turning in order to light up. Using this knowledge (or trial and error), you can then spin the various nodes into place. When all four are lit up, you can interact with the pillar beside the puzzle to retrieve a tool that can be added to the pedestals from earlier. With the tool, jump back in the cube from before and make your way round to the three pedestals. Insert the tool you just retrieved, and a different path will be cleared up ahead.
Node Puzzle 2 in Scorn Act 3
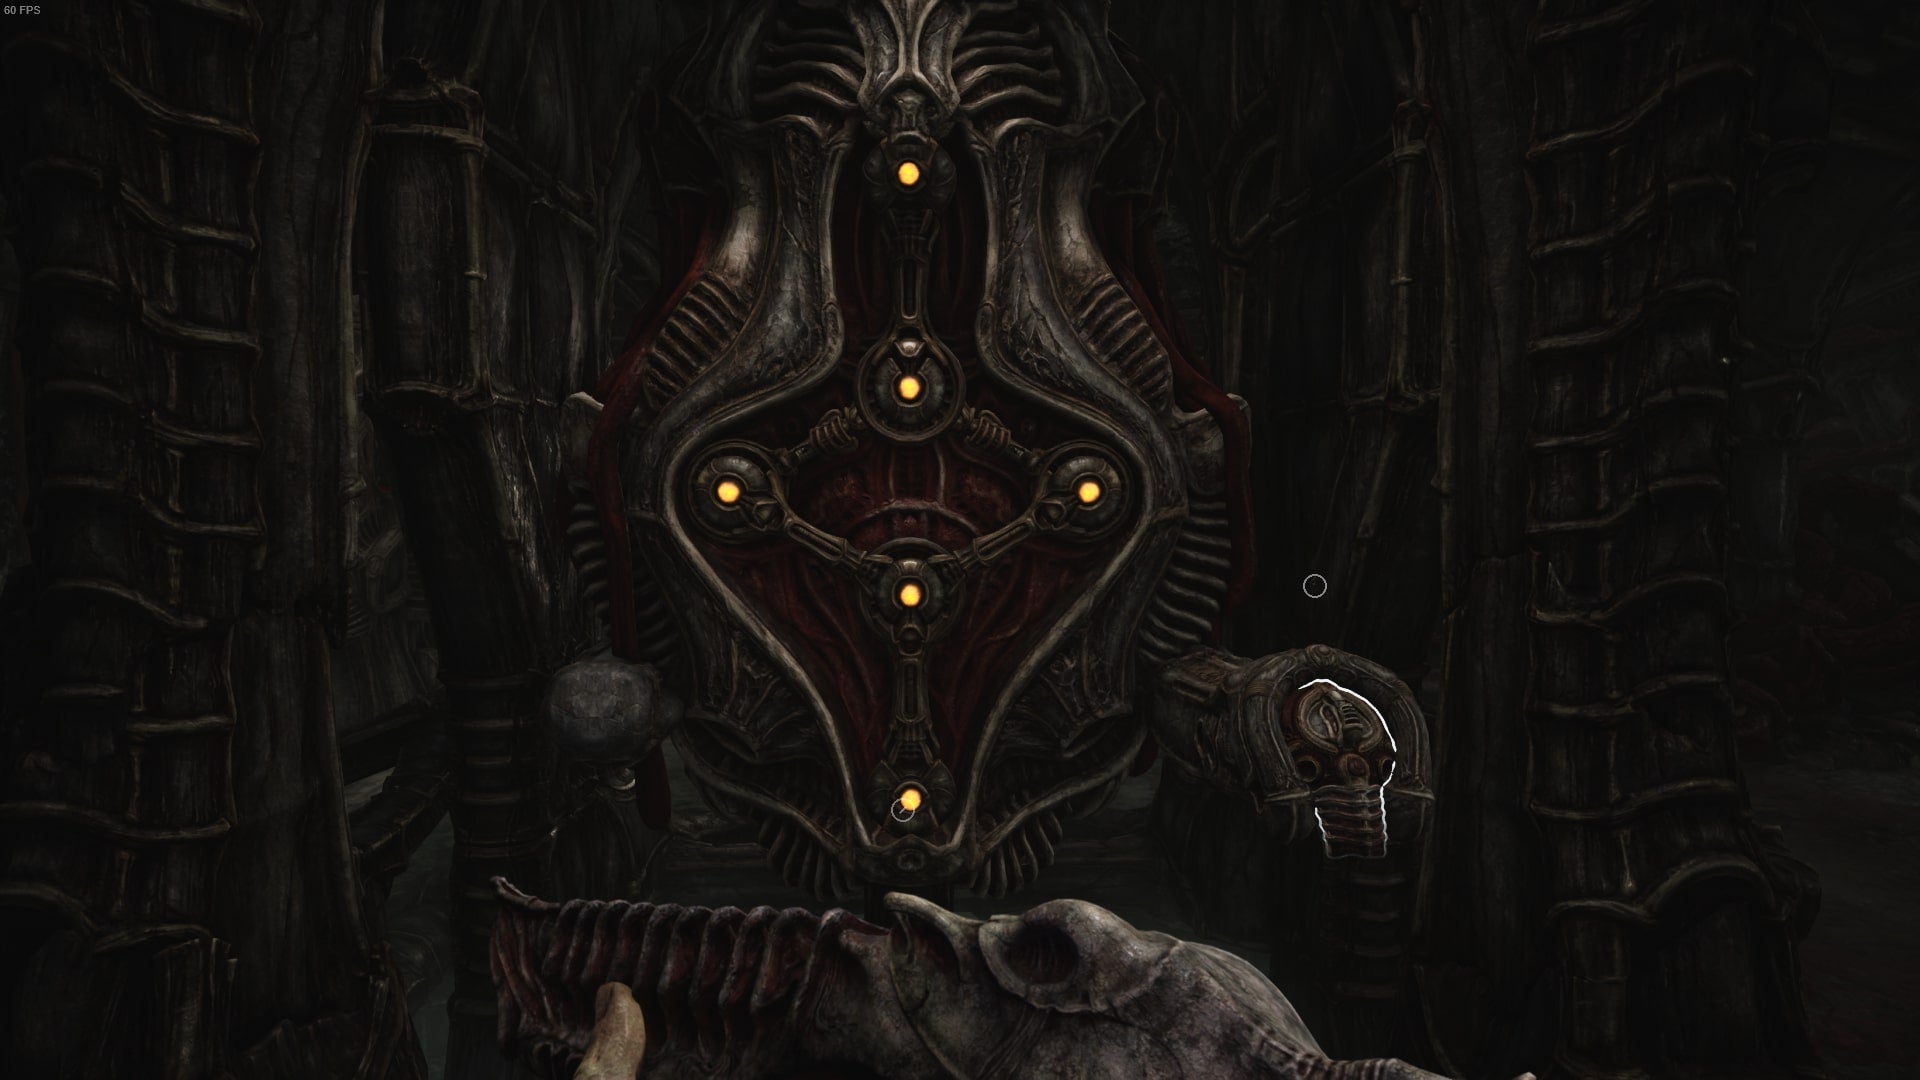
You’ll then want to take this new path by hopping in the cube and waiting for it to go down a level before hopping out. Then, locate the nearby pillar on this level, and commence another node-related puzzle. This time, you’ll need to mess around with levers and nodes until all five nodes are lit up. Do note that there’s also another crab-stabbing heals machine on this level. Once the puzzle is complete, retrieve the third tool from beside it, then hop back in the cube and head up to the pedestals again. Insert your new-found tool here. This will clear a third and final path for you. So, you know what to do; hope in the cube elevator again, wait for it to go to the level you just cleared, and hop back out again. With a little running around, you’ll eventually find yourself back where the cube-grabbing machine and two pillars were from earlier. Look at the below image if you’re unsure where to go. Facing the machine, head left, and instead of going straight ahead and on another cube bonanza, go left. Then, instead of entering any rooms, locate the pillar here and activate it. You’ll then see the cube you retrieved earlier picked up and moved by a cube-grabbing machine. Return to the platform with the cube-grabbing machine and two pillars. Use the first pillar to ascend a level. Then use the secondary pillar, furthest from the machine, to actually control the machine. Then use it to grab the cube you just moved, and position the cube under the claw to your right. Go to the platform on your right and use the pillar here to have the cube moved, then, jump into the bloodied cube once more. Following the small cutscene, keep going forward. On the right, you can upgrade your crab-like healing item if you didn’t already do it earlier. Follow the path and when more turns appear, continue forward. You’ll eventually find yourself in the room shown below. To use the pillar up ahead, you’ll need to switch your weapon so that is back in melee form first. You’ll be granted access to a new room after activating the pillar, and can exit to the left. You’ll want to go left again, but take caution as a very aggressive monster, who looks just as chicken-like and slimy as the rest, is going to be on your tail. Go left again, taking caution of the monster still (he likes to follow you), and you’ll be spat out by another pillar that needs your melee weapon. Activate it, and yet another gate falls, giving you access to another area. As if navigating Scorn isn’t hard enough, this is where it all really feels like a maze. Follow the path round, and take the second exit. You’ll emerge in an identical room, where you can take the first and only exit. Go right again to find an elevator, and use it to go up a level. Then, step out of the lift and go right to find a third pillar that needs activating with your melee weapon. This will then move a vent to clear a new path for you. Take the lift down to the lower level and go left through the new route. You’ll end up in a room with glowing, red matter in the centre, and there’ll be another pillar to your right. Use your melee weapon on the pillar to gain access to a new area. In this area is a new machine. Go ahead and interact with it, and your door-unlocking tool from earlier will be upgraded once more. You can now use the pillar from just before, and return to the elevator. Be careful of the unruly monster who’s managed to find you again. Head back up a floor via the lift when you eventually flee the creature. Then, instead of going right this time, take a left. You’ll find a door that you can now successfully go through. Through the door, there is a crab-stabbing heals machine on your immediate left. Then, go and stand in the cube just ahead. Leave the cube and head forward, but be cautious of the dangling alien here that will try and kill you. He’s rather ruthless. Now, I’ll be honest with you. At this point, I just ran hopelessly past every enemy until I got somewhere. Enemies are rampant in this area, and avoiding them proves to be much better for my health bar than trying to fight them. While running, I continually kept left and wound up at the below area. Beyond the monster and through the labelled exit, you’ll find a grandiose elevator shaft. Activate it, and as you ascend (or descend, I can’t actually tell), this marks the end of Act 3. That’s Act 3 of Scorn completed. While you no doubt take a break before Act 4, be sure to check out our review of Scorn.
